Repair Before You Redecorate: The Moving Parts That Can Undermine a Room Refresh
A room refresh often begins with color samples, fabric swatches, and saved photographs. The less glamorous details come later, when a curtain catches on a handle or a freshly painted window still refuses to open smoothly.
That order can create avoidable rework. Before new finishes go in, spend a few minutes on everything that moves: windows, doors, blinds, shades, and screens. The goal is not to turn decorating into a construction project. It is to keep a small functional problem from interfering with the finished room.
1. Test the Room Before Moving Anything
Use the room normally while it is still set up. Open and close each window. Lock it without an extra push. Raise the blinds, tilt the slats, and move the screen if it is designed to move. Open the door fully and notice whether it rubs the floor, touches furniture, or stops short of the wall.
Write down what actually happens. “The right side of the shade rises first” is more useful than “the blind is broken.” “The door latches only when I pull up on the handle” gives a repair professional a clearer starting point than “the door sticks.”
This first check also protects the decorating plan. It shows where access is needed and which parts should remain uncovered until the room works properly.
2. Separate Surface Problems From Movement Problems
Some flaws belong in the decorating phase. Chipped paint, dated hardware finishes, and small nail holes are surface issues. A window that binds or a door that drops toward the latch side is different. Paint may hide the evidence for a while, but it will not restore smooth movement.
Be careful with thick layers of new paint around windows and doors. Coating moving edges, tracks, seals, or hardware can make a minor problem worse. If old paint is already interfering, do not scrape blindly, especially in an older home where coatings may require special handling.
Chicago-area homeowners can visit capahome.com when a room update reveals a window, door, blind, or screen problem that should be addressed before the decorative work continues.
3. Find Gaps Before New Fabric Hides Them
Curtains and shades can soften a room, but they can also hide cracked sealant, moisture marks, or air movement around a window. Inspect the visible joint where the frame meets adjacent trim or wall material. Look for separation, gaps, or a bead of old caulk that has pulled away.
Do not assume every draft comes from the same place. Air may move around the frame, between moving window parts, or near a lock that no longer pulls the sash together evenly. The correct response depends on the source.
When visible separation around the frame is the issue, window caulking services may be part of the solution. A homeowner can arrange to reseal gaps around the window after confirming that the joint, rather than the moving parts of the window, is where attention is needed.
That distinction matters. Adding sealant to the wrong place can obstruct drainage or movement, while covering the area with drapery simply postpones the question.
4. Plan Window Treatments Around Real Movement
Once the opening works correctly, measure for blinds, shades, or curtains. Check the handle, crank, and lock positions before choosing an inside mount or adding a layered treatment. A beautiful shade that blocks a crank handle will feel poorly designed every time the window is used.
Consider stack height as well as finished length. When a Roman shade or blind is fully raised, it should not prevent the window from opening as intended. Drapery panels should clear door handles, floor vents, and paths to a patio or balcony.
This is where function supports style rather than limiting it. Accurate movement gives you a stable set of boundaries, and creative choices can happen inside them.
5. Check the Screen Before the Furniture Returns
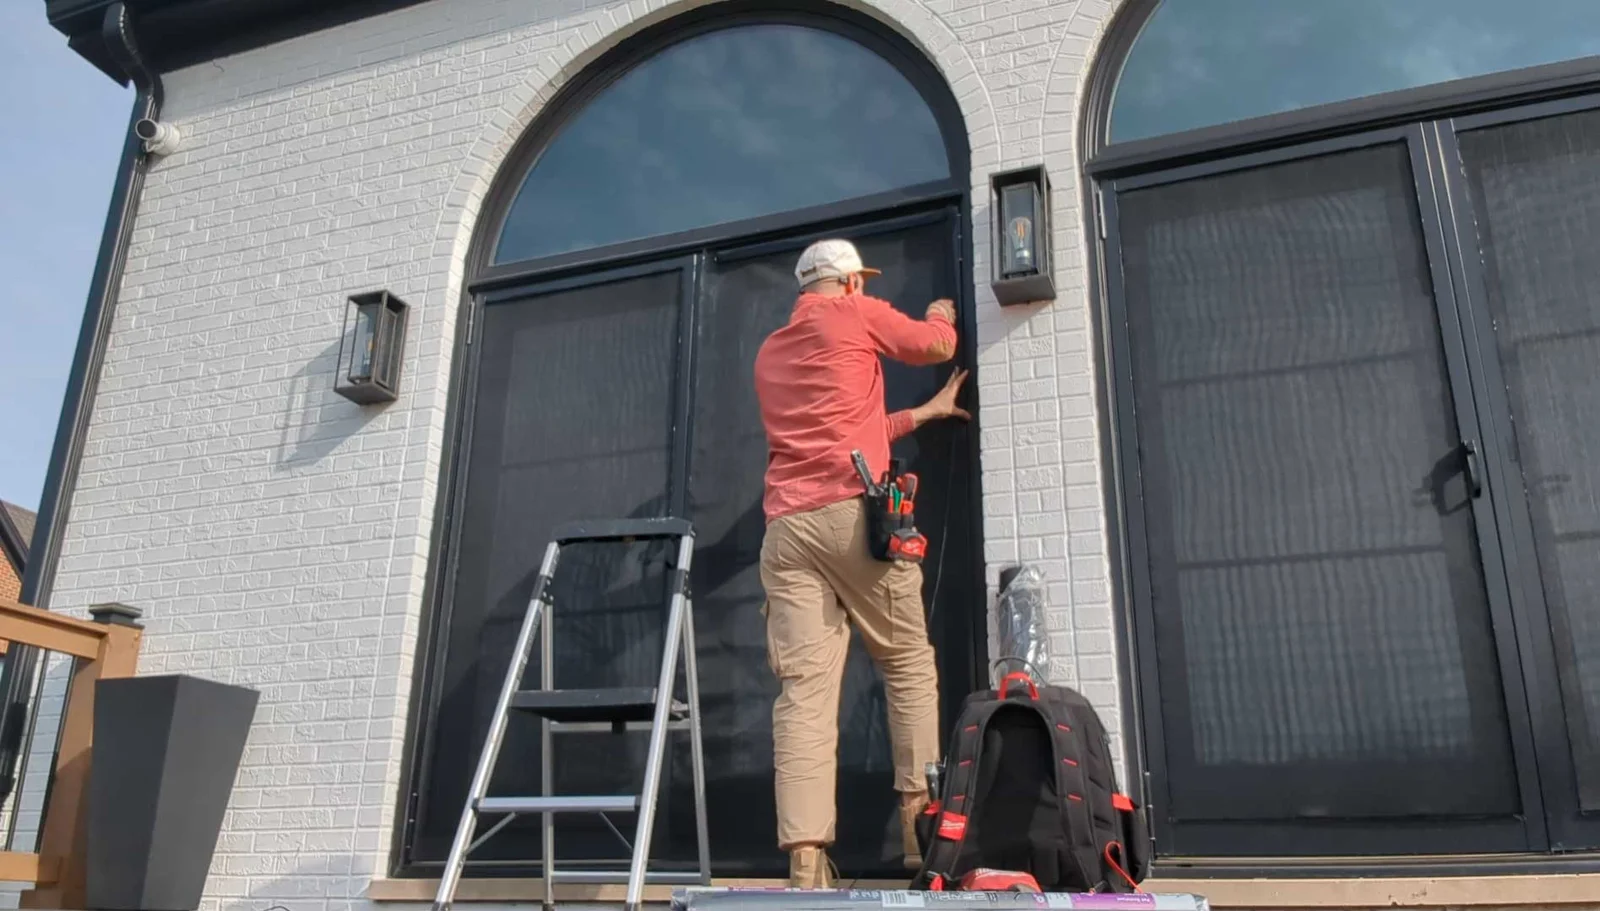
Screens are easiest to inspect when the area in front of the window is clear. Look for torn mesh, loose corners, a bowed frame, or a panel that no longer sits firmly. If a screen must be removed, follow the window manufacturer’s instructions and work from a safe position.
Avoid hiding a damaged screen behind a plant or curtain. Once the room is furnished again, that temporary solution tends to become permanent. Repairing the mesh or frame before the final styling preserves ventilation and the view.
6. Run the Finished-Room Test
After painting and installation are complete, repeat the original sequence. Open, close, lock, raise, lower, and walk through. Check that new furniture does not block a door and that fabric does not enter a track or catch beneath a moving panel.
Look at the room at different times of day. Morning light may reveal an uneven blind that was invisible at night. Afternoon heat may change how a stubborn window feels. Evening privacy may depend on whether a shade closes fully without twisting.
Ask another person to use the room as well. A handle that feels convenient to the person who planned the layout may sit awkwardly behind a chair for everyone else. Fresh eyes are especially useful after the homeowner has spent weeks adapting to a small inconvenience.
A successful refresh should reduce friction, not merely improve the photograph. The most convincing rooms are the ones where color, texture, and movement agree. Test the working parts first, keep them accessible during the project, and let the final decorative layer complete a room that already functions well.