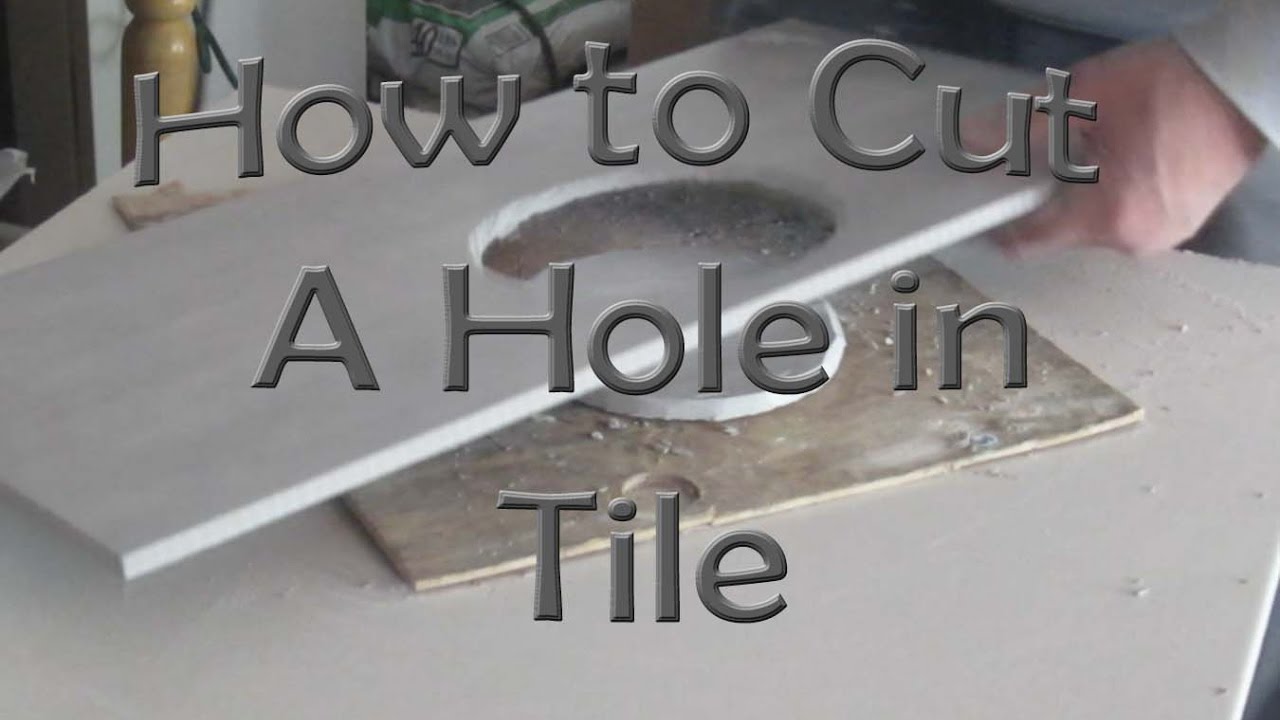
How to Cut a Hole in a Tile with Proper Safety
Tiles are the first choice of millions of souls around the world when choosing the correct flooring for their house. No matter the kind of fashion a family has in mind, one or another type of tile will surely be able to deliver.
When it comes to tiles, there is no other option but to choose porcelain or ceramic. While porcelain is known for its harder material and ability to withstand water, ceramic is used where there isn’t a lot of water. Sometimes we need to cut a hole in both types of tiles, be it for a kitchen backsplash or your bathroom floor.
There are so many exceptional options to choose from, as tiles are available in every form, from textured tile to plain ones. So, if you are a DIY enthusiast who just dealt with installing porcelain or ceramic tiles, you might be looking for a method to drill through them.
Know Your Equipment

- RCD (Residual-Current Device) Breaker: A residual-current device, or residual-current circuit breaker (RCCB), is a tool that instantly breaks an electrical circuit to avert grave harm from a continuous electric shock.
- Water Cooling Kit: Water cooling kit is used to cool something up, and it is usually seen used in different technologies, including computer systems. This kind of water cooling kit is available for drilling so that you can get more accurate holes.
- High-End Diamond Core Drill Bits: Diamond core drills can be a minute, but an essential part of any project and premium features can make the distinction between successful drilling and a disappointed you.
- Carbide Drill Bits: Carbide drill bits keep a sharp cutting edge higher than Cobalt or HSS and are operated at higher speed rates as they consume heat more effectively. A tipped carbide drill bit is valuable in slight holes. It also costs less than half of a standard carbide drill bit.
- Safety Goggles: Safety goggles are a form of protective eyewear that usually shields or encloses the area encircling the eye to prevent water, chemicals, or particulates from striking your eyes.
- Electric Drill: An electric drill is a drill that is usually spurred by an electric motor. It is the drilling machine that we usually get to see for normal circumstances. This is good for a simple drill.
It’s noteworthy that you will not need all of the drills. I wanted to mention all of them at the same place for your interest. Going through the step-by-step guide, you will be ready to recognize when you need which drill and what for.
Choose Your Drill

- There are all sorts of drills out there in the market. They can vary from extremely expensive to cheaper drills. Do not be unwise and buy a drill machine if you are only going to use it once. It is better to borrow a drill machine, rent one, or purchase the ones that are tailored for home-usage.
- Learning to cut a hole for professional reasons? My suggestion would be you buy a carbide drill that will cut 15-20 holes even on a firm porcelain surface. You should remember that this is only for professionals.
- Already a professional? In that case, you are not supposed to read an article on how to drill holes, but you are welcome anyway. You should definitely buy the expensive product for more extended usage.
Remember These Tips
When drilling holes more visible than 13mm, ensure there are scrap tiles or similar materials underneath it.
Please, do ensure that it is located in a tray that will collect the wastewater that gets created.
Make sure you are using personal protective equipment (PPE) like glasses and protective gloves while you are drilling holes.
Now, let us go through the step by step guidelines:
Distinguish the Size of the Hole You Want
When you can understand or identify precisely how large of a hole you want on your porcelain or ceramic tile, you can easily choose your drill machine in accordance. Various hole sizes require variations of sizes of bits and drills. And as the first step of the process, this is pretty significant.
Step by Step Guide
- In order to place holes that are 13mm or larger in diameter, it’s necessary to first pierce an indicatory hole. The indicatory hole will serve as the locator for your big diamond core. It will help you to drill a precise and specific hole in porcelain or ceramic tile.
- Then you should join an 8mm diamond bit or 8mm carbide drill bit to your drill. Exercise the directions depending on whether you are practicing diamond cores or carbide drill bits. You don’t have to see the final step in that case as you will not be drilling a fixing hole after the tile.
- After the indicatory hole is placed, it is possible to drill the main (13mm or larger) hole.
- In that case, connect the relevant diamond core and guarantee a steady supply of cold water through the cooling water system. You can heed the previous instructions for more details.
- Diamond cores that are larger than 13mm will require an adaptor with an indicatory pin. To position itself into the indicatory hole that has been cut earlier and to ensure that the precise hole will be cut.
- You have to start vertically and then begin to drill in an annular motion. With adequate force, you will be able to tell the sound of the drill changing.
- Drilling tiles should not take more than seconds, as it should take only some minutes. Just remember to use adequate force.
Whether you are trying to learn the method for personal reasons or professional, these drilling etiquettes will definitely come in handy. And that too more than once in your life, and you will always be grateful for knowing your way around with a drill machine.