How to Clean Your Aircon in 7 Easy Steps
A clean and well-maintained aircon is key to having a machine that will last you for a long period of time. More than having regular aircon maintenance, scheduling a monthly cleaning routine for your aircon unit can do wonders for its overall appearance and even performance. Here’s a quick and easy cleaning guide that you can follow when tidying up your aircon.
Turn off your aircon’s power
Before you even get to cleaning, you need to turn off your aircon from running. Cleaning an aircon while it is turned on is a recipe for disaster and injuries. That’s why you should always turn the switch off twice — both in the main switch and the exterior switch located behind the unit.
Clean any dirt and debris from the surface

Once the aircon has been turned off, it’s time for you to get rid of any dirt and tiny debris that have accumulated on the surface of the unit. To do this, get a screwdriver and remove the bolts of the casing. Afterwards, take out the dirt inside the unit by handpicking them out one by one or scraping them away with a cloth.
Rinse the aircon’s fins clean
Brush the aircon’s fins by using a vacuum cleaner or a spray and remove all of the dust and dirt on the area. You can do this by spraying water on the surface to make sure all hard stains are further broken down into tiny particles. Afterwards, you can wipe them clean by using a dry cloth.
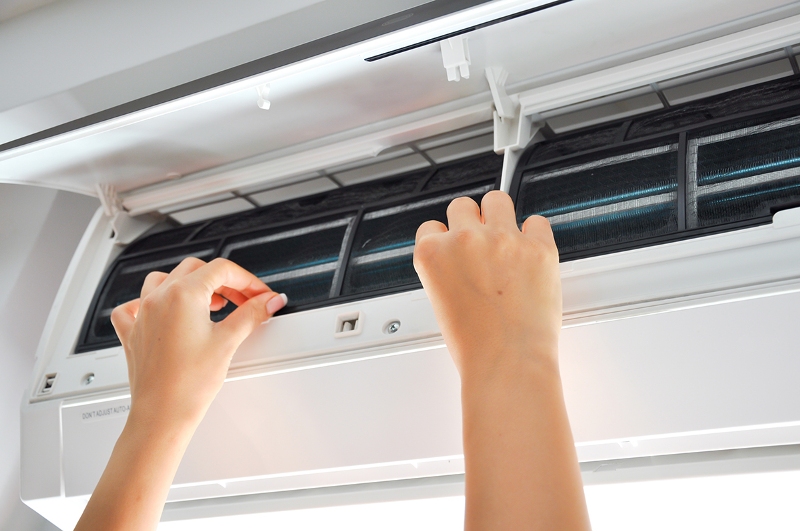
Clean the aircon filter thoroughly
Cleaning the aircon filter is an essential step of any aircon cleaning guide and one that you should never skip out on. You can do this simple step by removing the filters from the unit and soaking them in lukewarm water and soap or dishwashing liquid. Afterwards, scrub them free of any remaining dirt by gently brushing the surface of each area. For best results, clean your aircon’s filters every two weeks.
Clean the aircon’s surrounding area

Now that you’ve cleaned the fins and the internal system of the aircon unit, it’s time to make sure other areas are also free from dust and dirt. You can wipe these areas by using a clean and dry cloth and a spray cleaner. Doing this step is very important as it can reduce the amount of dirt the aircon will be accumulating in the next few weeks and months.
Clean the evaporator coil and drain
The evaporator coil and drain are two of the most important parts in an aircon unit. That’s why setting a time to also work on cleaning them is important when cleaning your aircon. For the evaporator coil, you can remove the clouds of dust and dirt by using a soft brush and spraying the area using a non-rinse coil cleaner. Once you’re done, clean the evaporator drain by brushing the pipe and getting rid of any dirt that can clog the passage.
Assemble the aircon and turn the power on
Once you are done cleaning the aircon system, put everything back together and make sure to secure every part tightly. Afterwards, you can plug your aircon back to the outlet and switch it on again. If you find that it’s running smoothly like before, then it’s a good sign that all of the newly cleaned parts are working properly. However, if you run into any problem, don’t panic! There are a lot of companies that offer aircon servicing in Singapore and other countries to help you detect the problem and fix it right away.