Ways on How to Raise a Sprinkler Valve Box in Your Garden and Grass
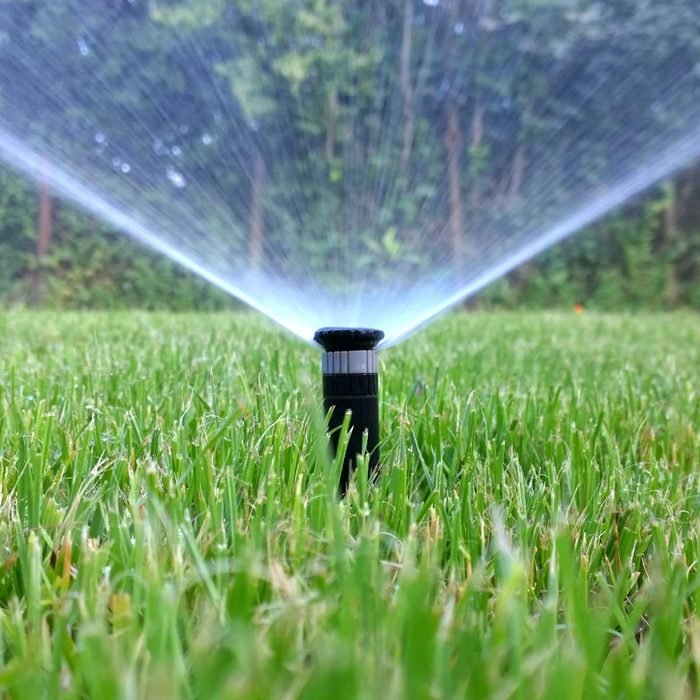
The Garden and Grass offer excellent information about different kinds of equipment that can help you manage your garden perfectly. The best example of that is a sprinkler valve box. It is a tool that can control the flow of the water in a sprinkler system. In addition, a manual or a timing device is possible.
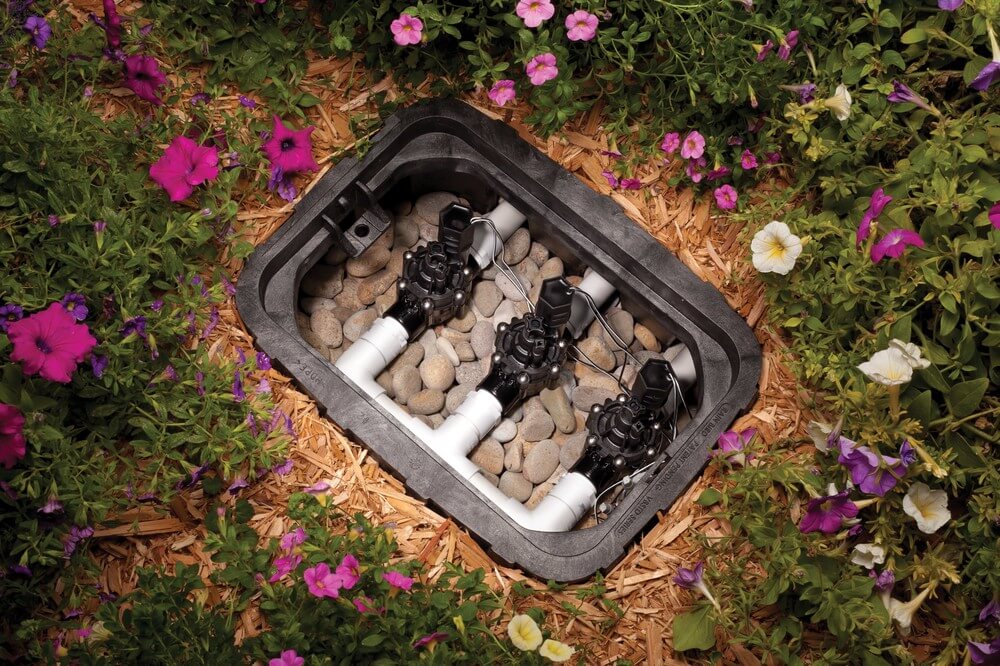
Nowadays, the modern sprinkler valve is composed of a solenoid. It can open and close the path for water to pass through the valve. It has two pipes, namely the inlet and the outlet. The inlet pipes carry water from the household supply to the valve and end in the middle of the diaphragm valve.
The diaphragm has a stopper held in place with a rod and spring connected to the top of the valve housing. The solenoid will allow the air inside the valve to release when it is active. As a result, the valve rises without pressure inside. It lets the water flow into the outlet and the sprinkler system.
WHERE IS THE SPRINKLER VALVE BOX LOCATED?
You can locate the valve box below the ground level. It also takes place while we’re aligning the lawn depressions up or just restructuring it anyway. So unless the container is re-surfaced, there will be possible troubles to come. We think that’s what you’re being bothered about as well.
So here are the steps on raising the sprinkler valve box in the garden or grass.

STEP 1: DETERMINE THE PERFECT FIT OF THE SPRINKLER VALVE BOX
We have to decide how much the new box will sit on top of the old one. It ensures that the joint between the valve boxes is 90-99% sealed(water-proof, dust-proof one).
If we can find the perfect size of sprinkler valve box that fits the ground, it is excellent. But unfortunately, if we are not able to find the ideal size, we should consider these factors:
(1) How much weight we want to gain,
(2) How deep the new box should have to go.
STEP 2: DIG AROUND THE EXISTING BOX
We should dig down around the valve box and dig down more than how much is required. Ensure that you dig wide enough to your lawn. An inch or two will do. If not, it might be challenging, somehow.
STEP 3: OPEN THE LID
Some people don’t prefer to remove the lid of the old valve box, but if we have a new one, removing the cover is not an option because we don’t need to access what’s inside the valve.
Note that if it’s a valve box extension, we’re going to put it on top of it, then the lid has to fit on the new one anyway. So that’s why we make sure that it matches perfectly in that case. So any seals or overfit or under is not expected anymore.
STEP 4: POSITION THE NEW BOX OVER THE OLD BOX
Replace the old valve box with a new one. Having a new valve box would have flanges around the bottom opening and bring on some special considerations. While doing so, it must support the flange well because if not, it will quickly get top-down by simply stepping on it or by a lawnmower. So what do we need to do to support the flange around the old box body?
We should put some solid filler material beneath the flange of the box to neutralize any pressure on the top surface and keep it aligned as before.
Examples of filler materials are:
- Bricks
- Scrap pressure treated wood,
- Stones
- Pieces of concrete.
Those are the best while distributed all around the perimeter of the box. If you have more than enough filler materials, you can fill up to three to four slots at equal intervals.
STEP 5: BACKFILL THE REMAINING GAP
We must see the new box fit the older one and raise the lid surface to its perfect height. Then backfill the space around the edges with soil. After backfilling the hole with soil, some excess soil should be disposed of properly.
Is it easy, isn’t it? Of course, remember that it involves several actions and borderline measurements that might not seem easy. So be careful in choosing the perfect fit of valve box for our yard.
Conclusion
And that’s it! The above information is your guideline in raising your sprinkler valve box in your garden and grass. We include here the steps you need to do so. Following those steps will allow you to do your task easily. If you have concerns visit us, and we will help you with that matter. Have a great day, and Thank you!