How To Do A DIY Countertop With An Epoxy Countertop Kit
Epoxy countertops are on a rising trend. Many homeowners are unleashing their creativity with an epoxy countertop kit that makes it easy to DIY countertops without much investment. However, there are many challenges associated with an epoxy installation. Caesarstone shares the pros and cons of epoxy countertops that can help you make an informed choice.
In this article, we will learn how to use a countertop epoxy kit.
What are Epoxy Countertops?
Epoxy is a re-finishing product, which can be purchased in a countertop kit to refinish old countertops. Unlike laminate, granite, or quartz countertops, epoxy usually is not available in prefabricated slabs, which you can purchase and install in your kitchen or bathroom. They are made onsite.
Ready-made epoxy countertops are available, but they are expensive, making them inaccessible to the masses.
Epoxy can be applied to most countertop materials, including
- Formica
- Laminate
- Ceramic
- Metal
- Wood
- Concrete
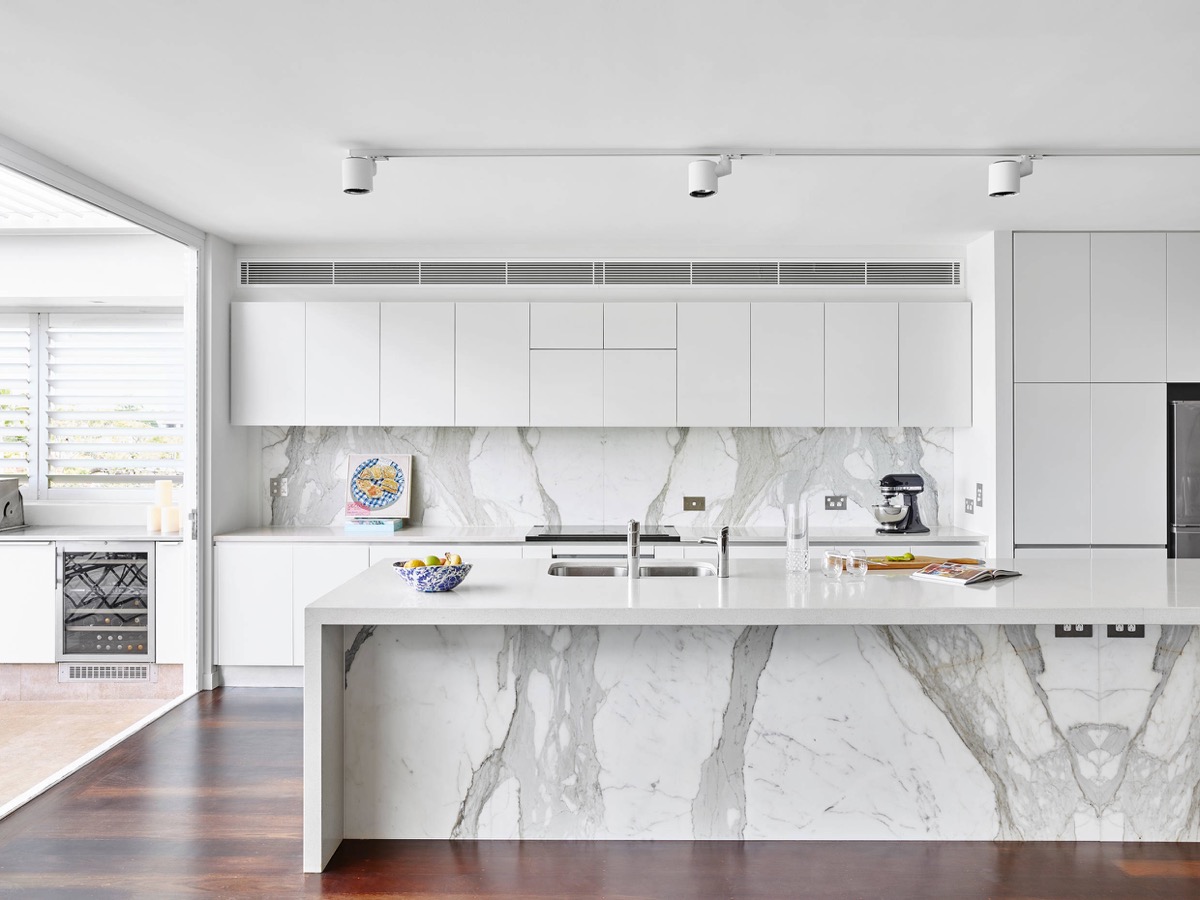
While epoxy can be used on marble and granite countertops, most homeowners do not use it on expensive stone installations that add more value to their home than epoxy.
However, epoxy can be used to create a glossy finish like these natural stones at a much cheaper price. It is used often as a sealer for concrete countertops.
How to create a DIY epoxy countertop
There are many types of epoxies. They all combine white spirit and hardener to create a clear, long-lasting solid.
The epoxy countertop kit usually comes in a box or bottle, which is applied to kitchen countertops according to the manufacturer’s instructions.
As epoxy hardens quickly, it is difficult and messy to use. Once installed, however, your countertop will have a shiny clear surface unless you opt for a textured epoxy product.
You can do it yourself or hire a professional to do the task and create a unique design for your epoxy countertops. However, it’s tricky and demands a lot of patience.

Follow these steps to design your countertop with an epoxy kit.
Clean the old countertops
Thoroughly clean the countertop to remove debris, dust, and food deposits. If not cleaned, they can form an uneven surface.
Cover cabinets and walls with plastic sheets
Don’t forget to cover the cabinets and walls and pretty much everything that you don’t want to cover with epoxy. The liquid moves quickly and flows easily from the countertop to the floor, sink, and other accessories. Cover them with a plastic sheet or place wooden partitions around the edges to keep liquid from spilling.
Coat a thin layer to seal the countertop
Mix epoxy and hardener and apply a thin coat to the countertop to create a seal. It minimizes the risk of bubbles. The solution hardens in 20-30 minutes. Make sure to apply the coat evenly within time. If bubbles appear, get them out immediately using a blow dryer or torch.
Add a second layer
Let the first layer dry for a few hours and apply the second layer the same way. Leave the countertops for 24 hours for them to dry and harden completely. After that, you are ready with your new epoxy countertops.
How to apply an epoxy coating over a laminate surface?
Discolored and stained laminate countertops can spoil the aesthetic of your home. When applied correctly, the epoxy coating can give your laminate countertops a beautiful look at a very cheap cost.
Here is how you should apply an epoxy coating to your laminate countertops
Remove the surface finish of the laminate.
It is the first and important step. Remove the top sheen finish of the laminate with the help of sandpaper.
Clean the countertop
Use a pair of rubber gloves and wash the entire countertop with a mixture of water and one spoon of trisodium phosphate. Make sure all dust, particles, and debris are removed. After that, wash the countertop with clean water and cover the edges with masking tape or pieces of wood to avoid the epoxy from running off the countertop.

Apply a primer
It is recommended to apply an adhesive primer on the laminate countertop before applying the first coat of epoxy. The primer coating ensures a tough finish for your epoxy coating. Use a sponge roller to apply the primer on the surface evenly and let it dry properly.
Apply the epoxy coating
When the primer has dried completely, apply a thin layer of epoxy coating. Remove any bubbles or bumps with a scrapper. Once the first layer is dry, apply the second epoxy coating. To give a smooth finish to the surface, move a scraper from left to right over the surface and let it dry. Remove the masking tape, and your countertop is ready.
The epoxy surface will dry and harden in 24 hours, but you must wait for 2-3 days before starting to use it.
Choosing your epoxy color
Many epoxy manufacturers allow customers to create their epoxy coatings by picking from a variety of resin shades. It usually starts with choosing a base color. You can choose colors to recreate stone patterns or other design effects.
The primary colors include white, silver, grey, green, red, and bronze, in which you can apply a layer of metallic powder to highlight the base color.
Some manufacturers also offer glitter that can add color to the epoxy finish. These highlights work best when they complement the accent color.
How to maintain your epoxy countertops?
Your epoxy surface can easily stain. Therefore, you need to clean it often. However, avoid using abrasive cleaners as they leave scratch marks and cause the epoxy surface to lose its brilliance. Also, avoid using polishes, waxes, or scouring pads when cleaning your countertop surface.
Instead, use a small amount of epoxy mineral oil once a week or even once a month. Mineral oil keeps the epoxy countertop shiny, but too much oil can make the surface look dull and cloudy. So, if you have applied too much oil, wipe it off with a clean cloth.