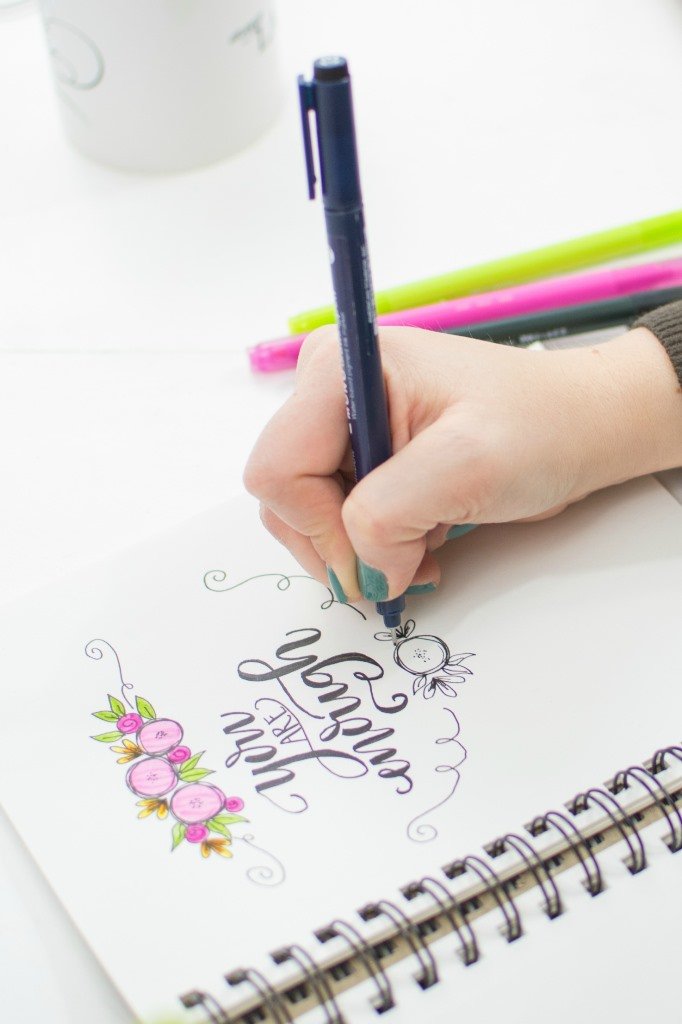
Want to Sketch Your Own Ribbon Letter
It was 6 in the morning. Amanda rushed to wake her grandma. It was Grandma’s 80th birthday.
Grandma was amazed to see Amanda’s excitement. Amanda was trying to hide something (Grandma knew it was her gift).
After wishing Grandma, Amanda handed over a beautifully crafted “hand-lettered” birthday card. It was beautifully designed with “Ribbon Letters”. She revealed it was hand-made and crafted by her.
Grandma was awestruck and was at a loss for words. She never knew Amanda had such an artistic propensity! And she loved it! She hugged Amanda with tears in her eyes, and told her that it was the best gift of her life!
Now, that’s the impact “Lettering” can create on your family & friends. The fusion of your artistic talent and love can knock them off their feet!
Ok, how about trying our own “Ribbon Letter”
Let’s buckle down and get started. Ready!
Remember, this “To-Do” is just for inspiration. To learn and master “Lettering” and “Calligraphy”, reach out for the virtuoso “Lettering.org”. This is your go-to haven to appease your “Lettering” instinct.
Materials you will need:

- Marker Pen (Color of your choice)
- Black Brush Marker – 1 No
- 2 Brush Markers (You can select the colors as per your choice, ideally both belonging to the same color family ie.a light and dark shade)
- Blender Marker
- A Pencil
- A Q-tip or blending stub
- Eraser
Now, Let’s get started:
Step 1: Write out the word using a black marker on any paper (Note: you can use any paper, not necessarily a marker paper)
Step 2: Place this paper beneath the marker paper and trace the word you have written (Ideally use the lighter shade of the brush marker you have)
Remember to note:

While doing ribbon letters if you find one letter crossing over the other (especially at the bottom), you can add shadows to these sections (just to invoke the depth effect)
Step 3: Add the shadow effect using the darker shade of the marker brush. Imagine how a ribbon will twist and turn. Bring in the effect accordingly. I mean the depth and shadows.
Step 4: Blend in the shadow areas using the blender marker (I’m assuming you got the blender marker in base color)
Step 5: Now, let’s create our “Shadow Effect”. Take the first sheet of paper you worked on (Remember, the one in which you wrote the letter using a black marker). Place that paper beneath the marker paper you are working on. You can place that paper anywhere, yes, literally anywhere. As long as you place it beneath the marker paper. You can afford to mess around.
Now using your pencil, shade in the area the black is showing.
Step 6: Take your Q-tip and smudge the pencil shading to create the shadow effect.
Voila! Your Ribbon Letter is ready.
TO CONCLUDE:
Bear in mind, “Lettering” and “Calligraphy” comes with constant practice and patience. While working be mindful of the basics like highlights, shadows, blending, and shading and you will be good to go.
Happy Lettering!