The Furnace Installation Guide
Winter weather is often bitterly cold, and homeowners depend upon a reliable furnace to stay the indoor environment warm and cozy. While the build quality of a heating appliance is vital, the installation process will have a greater impact on efficiency, comfort, and unit longevity.
So are you able to install your own replacement furnace? Installing a furnace must be done by experts. A private should hire a licensed HVAC professional for this job. This is often not employment for even the foremost ambitious do-it-yourselfer.
The whole process of installation needs considerable knowledge of sheet work, trade, and even some skills on plumbing. Installing a replacement furnace may be a fairly complicated process, and only licensed HVAC professionals have the specified permits in your state. Furnace work is even more dangerous if your furnace burns fuel like gas or oil. The exhaust is tremendously hazardous if your furnace isn’t adjusted properly.
The Installation Process
Before beginning this project, guarantee that all the electrical and gas supplies are completely turned off. It’s extremely dangerous leaving gas or power to the furnace unit on while uninstalling process. It’s never recommended under any circumstances. It’s then safe to get rid of the old furnace once all the utilities are turned off.

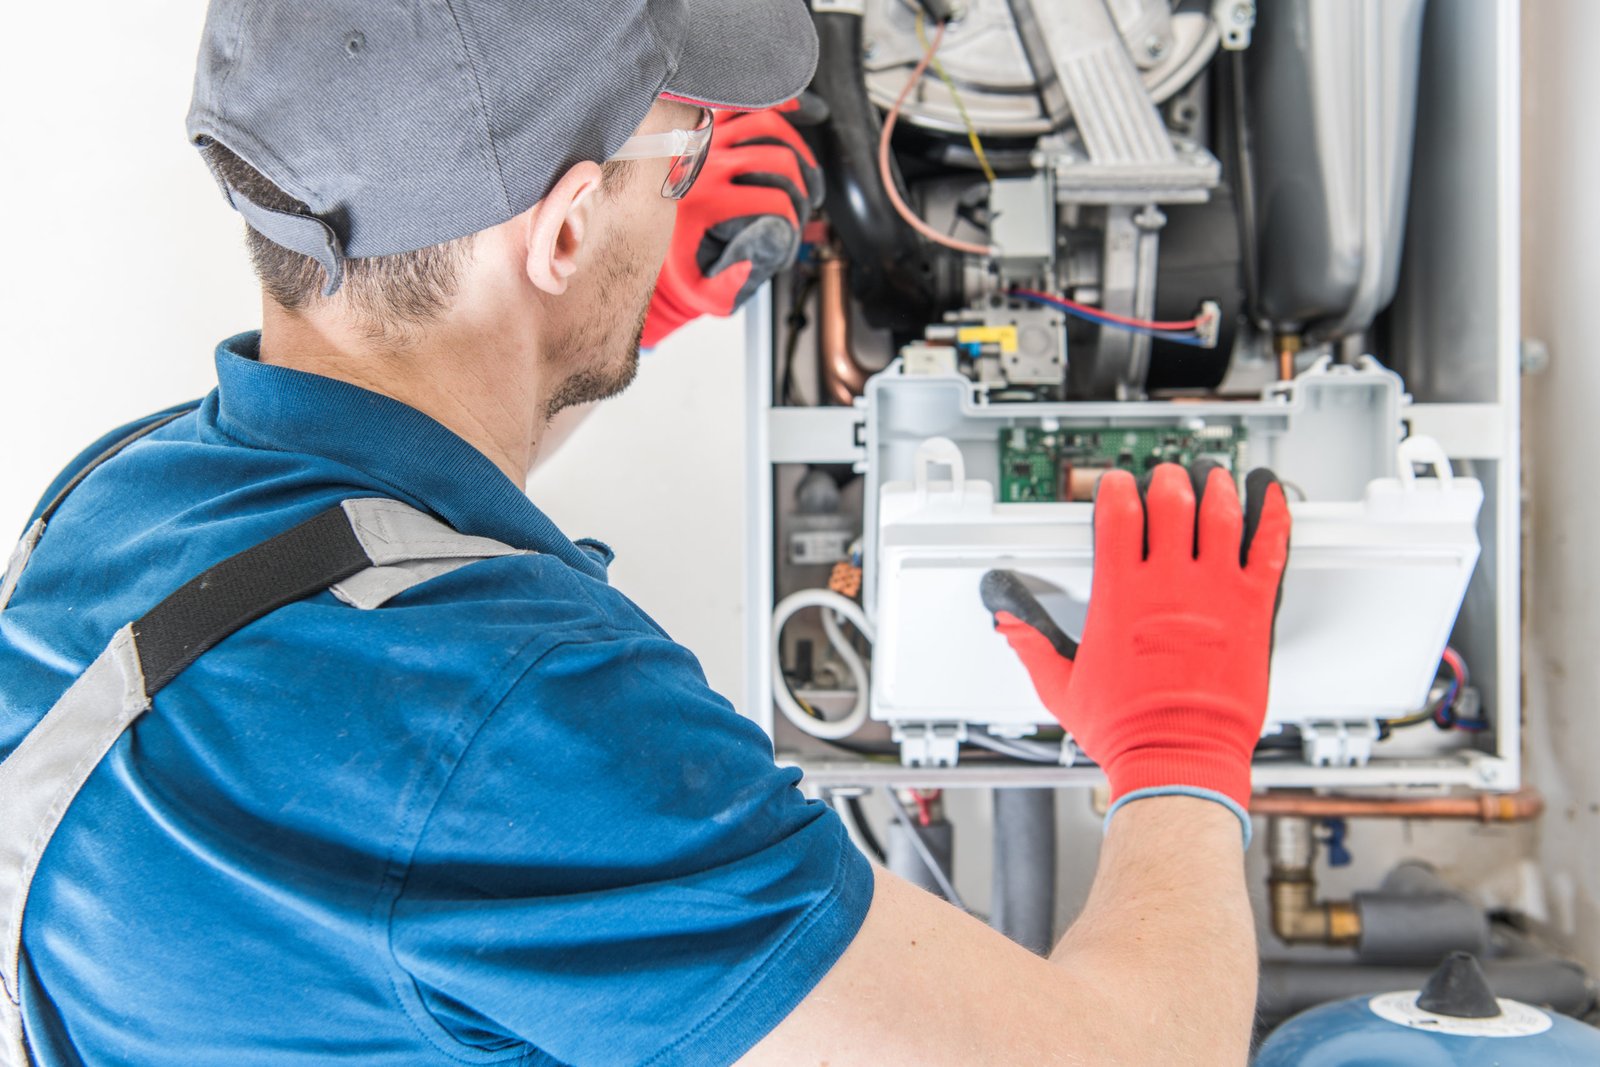
All gas supplies and wires got to be disconnected, and ductwork and vent pipes should be detached and removed. The HVAC expert must wear protective gear and gloves before removing the old furnace to avoid getting cut by the sides of the metal sheet.
Every new furnace installation begins with an analysis of the air distribution system. In retrofit applications, this includes a visible inspection of the ductwork to work out if there are any breaches, gaps, or loose connections that require to be Furnace Repair. The duct system also will undergo a sizing test to make sure it conforms to the standards outlined in Plumbing Las Vegas guide manual. Substandard ductwork can have a negative impact on air delivery and can degrade the performance of your new furnace if left uncorrected.
Once the ductwork is functioning properly, certified technicians begin the method of putting in your new equipment. This includes removing the old furnace and setting the new equipment in situ. Furnaces that are located in an attic require a second drain pan positioned under the unit for condensate protection.
When the equipment is about, the technician will begin the connection process by completing the subsequent steps:
- Properly align the furnace
- Connect the furnace to the availability plenum and return ductwork
- Properly seal the connections
- Connect the gas line and check for any leaks
- Connect the condensate line
- Connect the flue system to the furnace
- Connect the low-voltage thermostat wiring to the unit
- Make the ultimate high-voltage electrical connections
Furnace Testing

Once the installation process is finished, the technician will start the unit and run it through an entire heating cycle. The temperature differential between the availability and return should meet or exceed the manufacturer’s specifications. Finally, the contractor will air balance the registers to make sure that each room in your home receives the precise amount of conditioned air required to take care of a cushy, even temperature.