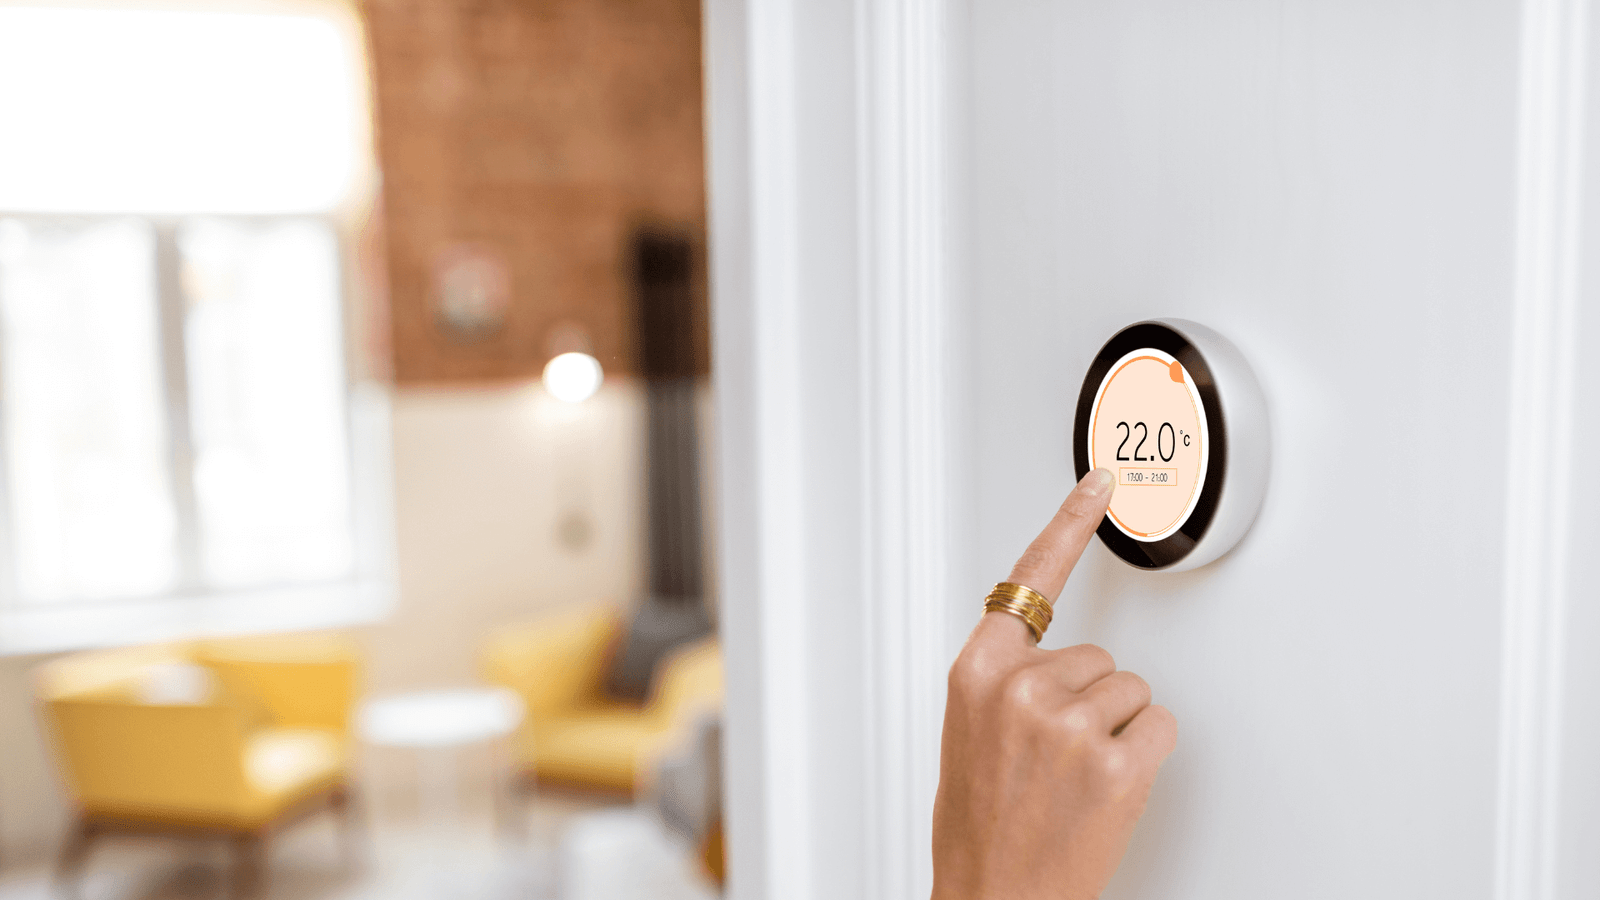
Steps for Installing a New Thermostat
Are you looking to upgrade your home’s temperature control for an energy-efficient, cost-saving solution? Installing a new thermostat can be a game-changer for comfort and energy management.
This comprehensive guide will walk you through the simple steps of installing a programmable or smart thermostat while highlighting essential tips and advice on compatibility, wiring connections, and safety precautions. We’ve also prepared some additional information for you on all things thermostat installation Phoenix related.
Don’t worry; we’ve got you covered, whether it’s your first DIY project or another addition to your evolving smart home ecosystem.
Steps For Installing A New Thermostat
First, turn off the power to your HVAC system. Next, remove the old thermostat and label the wires before disconnecting them from the unit.
Turn Off Power To The HVAC System
One of the essential steps for installing a new thermostat is ensuring that your home’s heating and cooling system is safe to work on, which means turning off the power to your HVAC system.
Locate the breaker box in your home and flip the associated switch to turn off power to your HVAC system. If you need help determining which circuit controls the HVAC system, consult your house’s electrical panel label or call an electrician.
Alternatively, some thermostats may have a wall switch nearby that you can turn off for added safety. Once you’ve successfully turned off electricity to your heating and cooling systems, double-check by adjusting temperature settings on both devices—your furnace and air conditioner should remain unresponsive if done correctly.

Remove Old Thermostat And Label Wires
The next step in installing a new thermostat is to remove the old one and label the wires. This can be tricky, so turn off the power to your HVAC system before starting.
Once you’re ready, remove the faceplate of the old thermostat and carefully take note of which wires are connected where. Labeling each wire with its corresponding letter or number code is essential to reconnect them later quickly.
When removing the old thermostat, double-check there are no extra wires behind it or extraneous holes cut into your wall that may need repairs before installing a new unit.
Overall this process requires careful handling, but with diligence and attention to detail, every homeowner can successfully label their wires without much stress!
Install And Program New Thermostat
Once you’ve removed the old thermostat and labeled the wiring, it’s time to install and program the new thermostat. Start by ensuring that the new thermostat is compatible with your HVAC system, particularly if you are upgrading to a smart or programmable option.
Next, align the mounting plate of the new thermostat with the holes in your wall and secure it in place.
Once properly installed, follow manufacturer instructions for programming your new thermostat. This may involve setting up a schedule for temperature control based on weekday versus weekend hours or manually adjusting settings as needed for optimal comfort and energy efficiency.
Tips For A Successful Installation
To ensure a smooth installation process, it’s important to make sure your new thermostat is compatible with your HVAC system and double-check all wiring connections before turning the power back on.
Ensure Compatibility With HVAC System
Before purchasing and installing a new thermostat, it is essential to ensure that it is compatible with your HVAC system. Not all thermostats work with all heating and cooling systems, so checking the compatibility is critical.
To check compatibility, you should consult the manufacturer’s website for your HVAC unit or seek advice from an experienced professional.
It’s also important to consider what type of system you have when selecting a thermostat.
Taking into account these compatibility factors ensures that you are choosing a thermostat that works well with your existing HVAC system and will ultimately save energy while keeping you comfortable at home.

Double-Check Wiring Connections
After removing the old thermostat and labeling the wires, it’s important to double-check that each wire is properly connected to its corresponding terminal on the new thermostat.
Mis-wiring a thermostat can result in system malfunctions or even damage to your HVAC equipment. To ensure proper connections, refer to your HVAC system’s wiring diagram and cross-reference it with your new thermostat manual.
Additionally, for added safety precautions, turn off power not only to your HVAC but also at the circuit breaker panel while completing this step.
Conclusion
In conclusion, installing a new thermostat in your home can be a simple DIY project that can have long-term benefits for energy efficiency and temperature control. By following these steps, including turning off power to the HVAC system, labeling wires, and programming the new thermostat correctly, you can ensure a successful installation.
It’s also important to double-check wiring connections and ensure compatibility with your HVAC system before beginning.


