DIY T-Shirts: Fun, Cheap and Stylish
Fashion is fast, and these days it’s moving at an unbelievable pace. On average, consumers purchased 60% more clothing in 2014 than they did in 2000. There are many reasons for rapid wardrobe shifts, but the quality of garments is a huge factor. Large chains as disparate as H&M and Walmart all sell cute, stylish clothing at a low cost, while sacrificing longevity. As a result, many people have closets full of clothing that will fall apart after a year or so of regular use. To combat both the inferior quality of fast fashion and the exploitive conditions of the workers who create the garments, many people are designing their own clothing. By combining a few staples with do-it-yourself pieces, you can create a unique wardrobe that will last and be a point of pride.
Printing Your Own T-Shirts

Creating personalized designs is far easier than any retailer would like you to believe. For the particularly industrious, investing in a screen printer will ensure consistency of design across multiple pieces. While screen printing as we know it only goes back to 1900, the original process was created during the Song Dynasty, making it one of the oldest extant printing methods. While each machine works a little differently, the process is quite simple. You create a design, transfer it onto a screen, place the shirt on the printer, and run ink across the fabric to leave an impression. Owning a screen printer is ideal for bands, those running small businesses, and organizations like churches and youth groups. The initial investment will pay for itself after a few runs by cutting out commercial printing services.
Soaked In Bleach

For those working on a smaller scale, bleaching cotton or denim fabric is an easy, funky way to show off your style. Start by cutting a stencil of your design out of freezer paper. Place a piece of cardboard in the shirt to prevent the beach from seeping through to the back, and iron your stencil onto the shirt. Once it’s adhered to the fabric, take a spray bottle filled with a 50/50 bleach/water solution and spray the stencil. Be careful to avoid hitting any spots you do not want bleached. Should the stencil start to move, do not iron it back on at this stage, as the heat can cause a hazardous chemical reaction with the bleach. Once your design has achieved the desired level of lightness, remove the cardboard and dunk the shirt into cold water to stop the reaction. Ring out the shirt, let it dry and show off your new creation.
Customizing Your T-Shirt

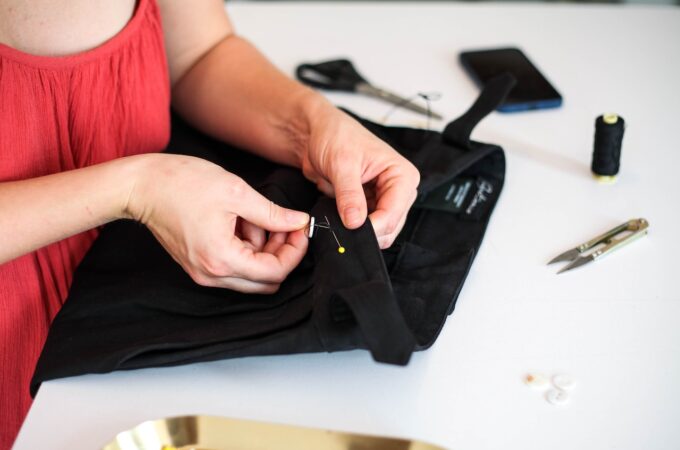
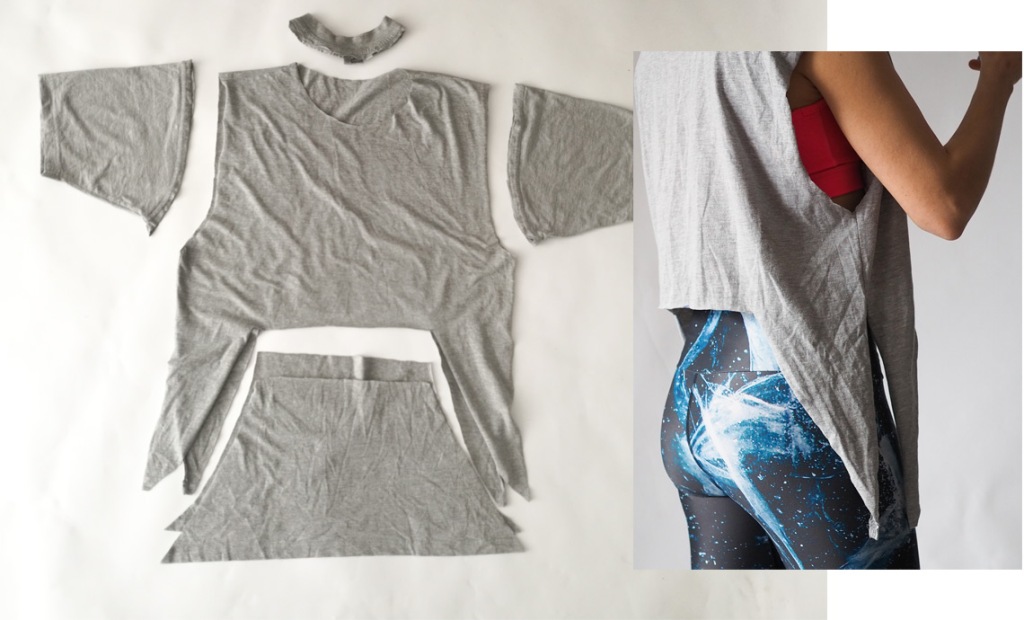
Now that you’ve created and printed a design on your shirt, grab a pair of scissors to make your new top stand out. There are endless ways to customize a t-shirt, and many of them do not require sewing. The simplest way to modify a t-shirt is to cut out the collar, creating a scooped neck look. Cutting off the hems will make the shirt sleeves and bottom roll up a bit, so be mindful of that if you’re looking to shorten the shirt. Add safety pins and buttons to give the shirt a punk rock vibe, and you’re ready to head out on the town.
Fashion trends move so quickly that it’s impossible to keep up with what’s current. Instead of running out and picking up the next piece of fast fashion that will fall apart faster than it’s out of style, take a DIY approach to your wardrobe. Whether you’re creating your own design, cutting up your shirt, or a little of both, making your own style is a cheap, fun way to show off your personality.