Miter Saw Reviews – How to Use Compound Miter Saws
Miter saws are great tools to have for any DIY or home improvement project. Just like any other equipment, however, it’s imperative that you understand how to use this tool before you begin your project. Reasons behind this are both for safety and to ensure your project turns out the best it can.
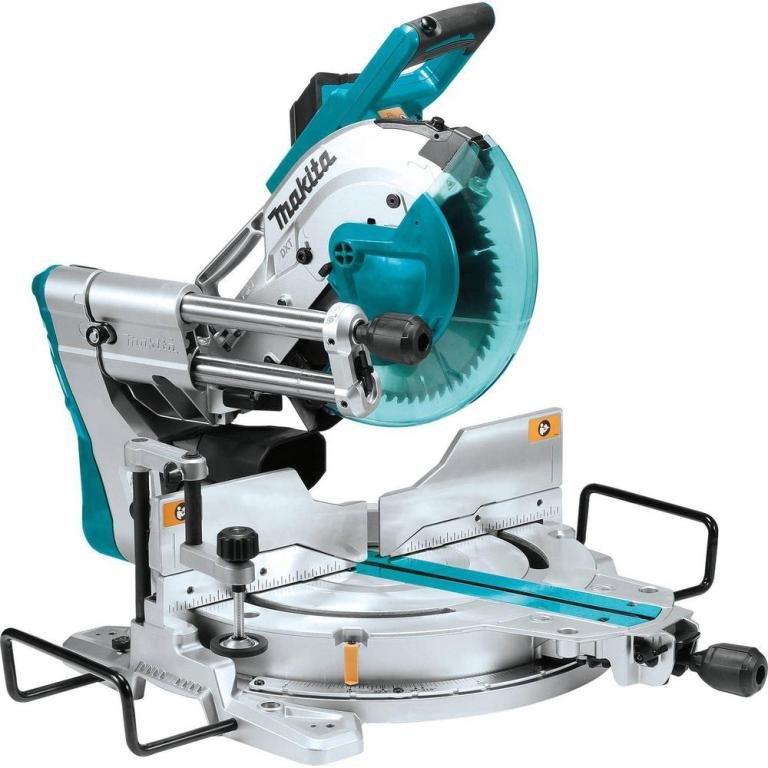
Tools Required for Projects Involving Miter Saws

Luckily, once you actually own a saw, you don’t need much. Making sure you’re prepared with all your tools will save you both frustration and time. Tools include:
- The miter saw itself
- Wood or molding (what you’re cutting)
- Safety glasses
- Protection for your ears/hearing
Tips for Safety
Miter saws are easy to use and perfectly safe if you follow all instructions and precautions. Safety tips include:
- If you’re not using the saw, unplug it.
- Make sure your fingers are always six inches or more from the blade. Some saws come with lines so you can see the dangerous area to have your fingers in.
- Always wear safety glasses, and have protection for your hearing when the saw is in operation.
- Be patient and wait until the blade stops spinning before you lift the saw.
How to Use the Saw

Once you’ve read the instructions and have made sure you have all your tools, you can follow these tips to ensure you’re using your miter saw safely and efficiently. Remember, you’ll get a clean cut as long as your grip is firm and your hand is steady.
1)Have the blade line up with the mark along one side.

Use your thumb to release the guard of the blade, and align the cut with one edge of the blade. Take your fingers away from the switch to release the guard, then put your fingers back to the switch as you cut. Listen to the blade–you’ll hear that it reaches its top speed, then you can cut. Let the blade stop completely before you raise it. For the most accuracy, use a clamp.
2)Fine-tune the cut.

Adjust the angle of the blade slightly in order to fine-tune your cuts if you need a tighter fit. You can hold the blade adjuster in position, then make sure the locking handle is tight.
3)If you’re making multiple cuts, make use of stop blocks.
You can make stop blocks by screwing two pieces of wood to the stand of your miter saw. These will help stop, if you’re cutting repeatedly at a certain length.
4)If you’re cutting crown molding, utilize a jig.

You can build a jig yourself to keep crown moldings at the angle you want, by screwing the jig in through holes that are in the fence of the miter saw. Mark inside the jig where the stop will be for the crown molding, and cut with the molding upside down.
Each miter saw is a little bit different according to MiterSawBuzz Reviews, so it will take some adjusting. You’ll get used to your saw and its small quirks the more you’re able to use it.


