DIY Kitchen Cabinets Made Easy Affordable and Stylish Solutions
Building DIY kitchen cabinets is the single biggest money‑saver in a budget kitchen remodel—and it’s far less intimidating than most homeowners think. In one weekend of research and a handful of weekends in the garage, you can replace eye‑watering contractor quotes with custom cabinetry you’re proud to show off. This streamlined guide keeps the structure simple, focusing on the essentials you need to go from bare walls to beautiful, functional storage without drowning in sub‑headings.
Why DIY? The Three Huge Payoffs
Cost control is the headline benefit. Pre‑made cabinets often start around $200 per linear foot; custom work can hit $500 or more. By sourcing plywood, hardware, and finishes yourself, you can slash that figure by half—sometimes more—while still using top‑quality materials.
Perfect fit and style come a close second. Factory cabinet widths jump in 3‑inch increments, which leaves dead spaces that installers fill with wide fillers. When you build your own cabinets, every inch counts: odd corners, low soffits, and standalone spice towers are easy because you dictate the dimensions. A tight footprint means more storage and a tailor‑made look.
Finally, the confidence boost is real. Installing drawer slides that roll like butter or a shaker door you routed yourself is deeply satisfying. Even if you’re a woodworking novice, modern pocket‑hole jigs, pre‑set router bits, and step‑by‑step cut lists flatten the learning curve so you can succeed on your first go.
From Tape Measure to Cut List: Planning, Materials, and Tools
A solid plan removes 90 percent of DIY headaches. Start by sketching your kitchen—graph paper or free design software like SketchUp works fine. Record wall length, ceiling height, appliance widths, and the distance each door needs to swing. Mark plumbing and electrical fixtures so you know where to leave access panels.
With dimensions locked, count up the plywood. Most DIY builders use ¾‑inch cabinet‑grade plywood for the carcasses: it’s strong, stable, and finishes beautifully. If you prefer paint, MDF is cheaper and ultra‑smooth, but it’s heavy and hates water. Doors offer options: flat slab (quickest), shaker frame‑and‑panel (classic), or beadboard (cottage style). Beyond sheet goods, budget for pocket‑hole screws, edge banding, self‑closing hinges, and full‑extension drawer slides—hardware is where a DIY job feels “factory.”
Toolwise, you can build a full kitchen with a circular saw, guide rail, drill/driver, pocket‑hole jig, clamps, and a random‑orbit sander. Borrow or rent a table saw and router if you crave pro‑level speed, but they’re not mandatory. A clear, well‑lit workspace—garage or carport—matters more than fancy machinery. Safety glasses, hearing protection, and a dust mask are non‑negotiable.
Sawdust to Showcase: Building, Finishing, and Installing
Cabinet boxes (a.k.a. carcasses) follow a simple recipe: two sides, a top, a bottom, and a back. Pocket‑screw the sides to the top and bottom, square the assembly, then glue‑n‑nail a ¼‑inch plywood back. Add a 4‑inch toe‑kick strip along the base or set each box on a separate plywood “ladder” frame. For adjustable shelves, drill shelf‑pin holes with a jig before glue‑up.
Doors and drawers are where your kitchen’s personality emerges. Slab doors require only a clean cross‑cut and edge banding, then you’re off to paint. Shaker doors need four frame pieces—rails and stiles—plus a recessed plywood panel. Glue and clamp these on a flat surface; square is king. Drawer boxes come together from ½‑inch plywood with butt joints or simple box joints. Glue, clamp, and screw for strength, then attach slides per the manufacturer’s instructions.
Surface prep and finishing make or break the final look. Sand surfaces to 220‑grit, vacuum dust, and wipe with a tack cloth. If you’re staining, apply a pre‑stain conditioner so color absorbs evenly. For paint, a high‑quality bonding primer prevents blotches. Low‑VOC latex or acrylic enamel levels nicely on plywood and is safer for indoor use. Top‑coat painted or stained surfaces with water‑based polyurethane for durability without yellowing.
Installation starts where two walls meet. Draw a level line 34½ inches from the floor for the base‑cabinet tops. Shim the first corner box until dead‑level, drive 3‑inch screws into studs, and check level again. Add adjoining boxes, clamping faces flush and screwing sides together before anchoring to the wall. Wall cabinets hang on a temporary ledger board screwed at 54 inches from the floor (standard 18‑inch counter‑to‑wall‑cabinet gap). Once all carcasses are up, adjust doors with the hinge’s in‑out, up‑down, and left‑right cams until reveals are even.
Style, Savings, and Long‑Term Care
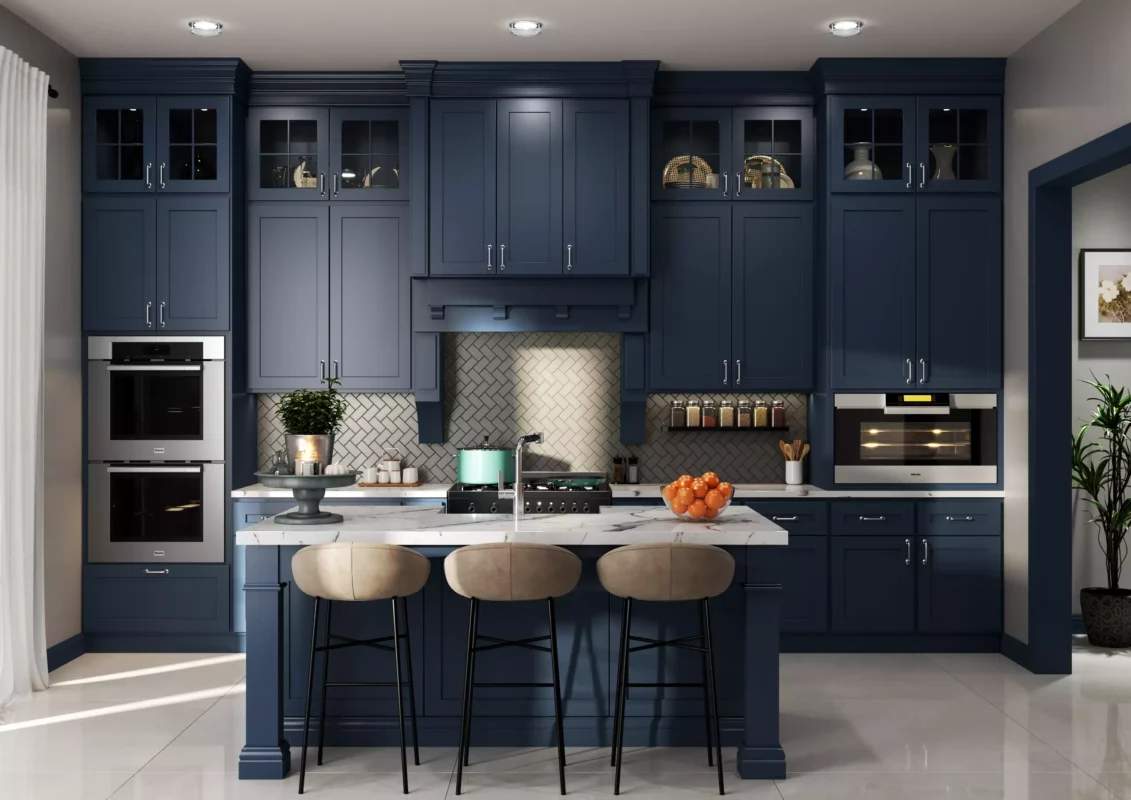
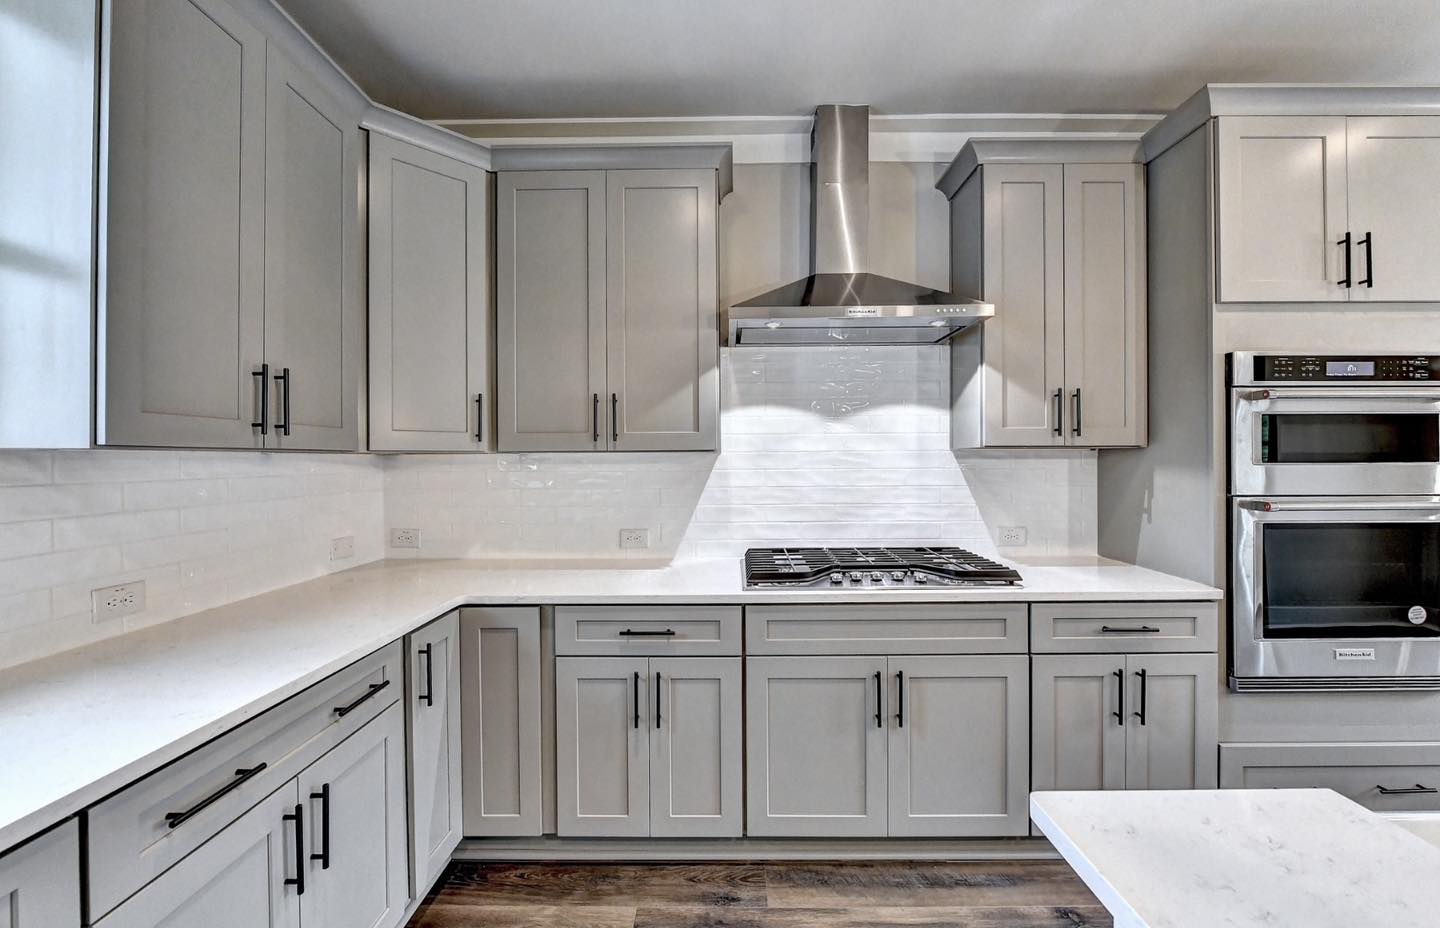
A coat of paint or stain isn’t the end of your budget kitchen remodel—styling choices stretch your savings further. Pair painted doors with butcher‑block counters for a warm, Scandinavian vibe, or drop in ready‑made quartz offcuts for a splash of luxury. Peel‑and‑stick subway tiles create a high‑impact backsplash in an afternoon, and $50 under‑cabinet LED kits plug into any outlet for instant task lighting.
Routine care is refreshingly simple: wipe fronts monthly with a damp microfiber cloth, tighten hinge screws when doors start to drift, and refresh polyurethane every few years in high‑traffic zones. Plywood boxes will outlast many factory particle‑board units, and hardware upgrades are easy when tastes change—just swap pulls or hinges, not the entire cabinet.
Conclusion: One Cabinet at a Time
Building DIY kitchen cabinets trades cash outlay for sweat equity, but the dividends are remarkable: a truly affordable kitchen makeover, cabinets that fit like tailored clothing, and daily use of a space filled with personal pride. Start small—maybe a single sink cabinet—learn the rhythm of measuring, cutting, and assembling, then replicate your success box after box. Before long, you’ll step back from gleaming new doors and whisper the three sweetest words in DIY: I built that.