The 5 Stages of Basement Development
When it comes to home renovations, one of the most difficult areas to renovate is the basement. Most homeowners have done little to nothing in their basement and usually use it for storage purposes. This means that the basement renovation is going to be a huge undertaking.
Here are the five stages of basement development you can follow to make everything easier:
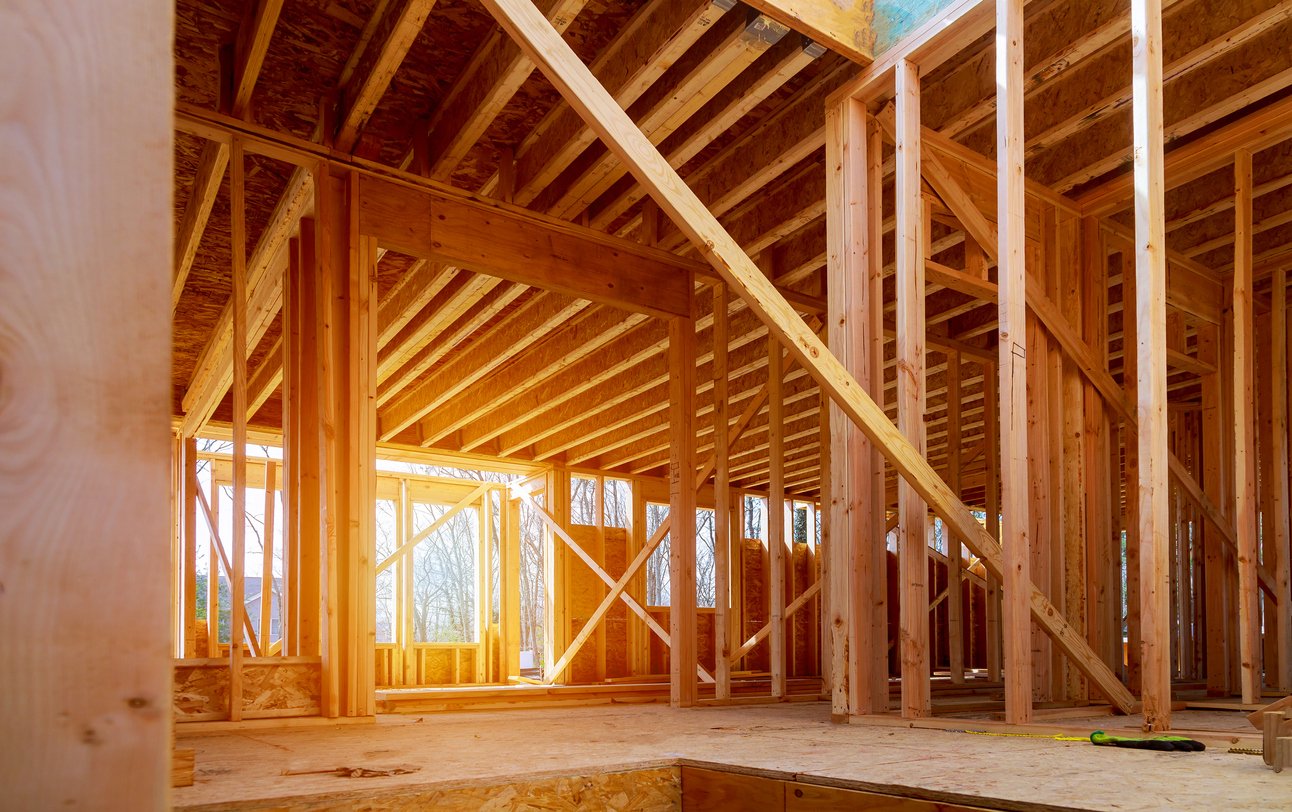
Stage 1: Framing
The first stage is to build a frame for your basement walls. You’re going to be using wood frames to set everything up probably. Then you can start insulating the walls. If you’re going to be spending time in the basement, it’s essential that you can control the temperature down there.
Stage 2: Electrical
The second stage is electrical wiring in the basement. You’re going to need to set up the wiring and service panel. It’s going to need some planning on your part as you have to think about how you’re going to use your basement.
For example, if you’re going to be using power tools there, you’re going to need an adequate breaker and panel to allow for enough power. If you want to use your basement as a recreational room or an entertainment center, you can keep it fairly simple.
The final aspect of the electrical will be the actual lighting and switches. You want to design the system in a way that’s intuitive and adds the utility you need in your basement. Electrical systems can get complex and dangerous if you don’t know what you’re doing.
If you want to remove the risk of installing electrical systems, consider looking at Calgary Home Renovations by Aspire.
Stage 3: Plumbing
Plumbing may or may not be needed for your basement. If you want to install a second kitchen or bathroom in your basement, you’re obviously going to need to install plumbing. Like everything else, you want to plan where you want to install sinks and the bathroom space.
This can be done yourself, but it’s not an easy project. There’s going to be a lot of trial and error when it comes to plumbing. It’s always wise to hire a contractor for projects like this.

Stage 4: Drywall and Painting
Drywall is the next step in constructing your basement. Many tutorials teach you how to install your own drywall. However, you need to be aware of how difficult installing drywall is.
Drywall gets tedious, messy, and time-consuming. That’s why it’s a project that many homeowners outsource to contractors even if they can save some money doing it themselves. What you can do on your own is painting. After the framing and walls are set up, you can buy a can of paint and start transforming the basement into a room you can actually spend time in.
Stage 5: Flooring
The final stage of basement development is the flooring. Flooring is something that can be done yourself. There are some great options you can go with, from vinyl tiles, carpets and wood flooring, to simple floor coatings. Most of the options are easy to pull off, but if you’re going with carpets, you have to make sure that you don’t have leaks. Moisture will result in mildew and mould in carpet flooring.
Of course, you can leave the concrete as it is. But you have to remember that concrete will get very cold in the winter. This isn’t ideal if you’re trying to make your basement space livable.
After these main stages are completed, you can start finishing off the minor details. This includes installing trims and doors (if you’ve set up one or more rooms in your basement), adding essential furniture, and adding heating or a portable heater.