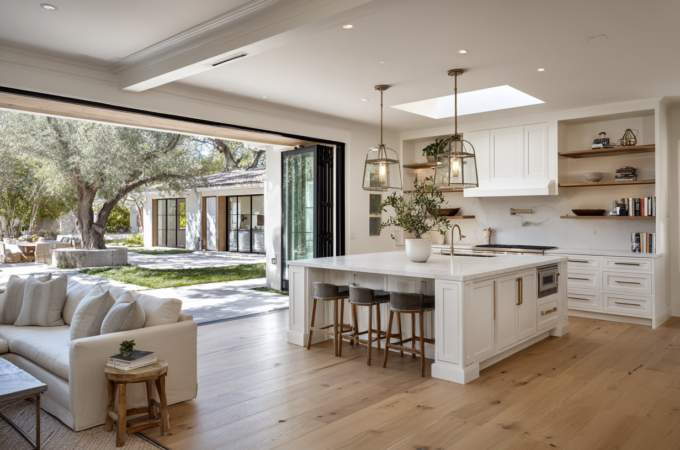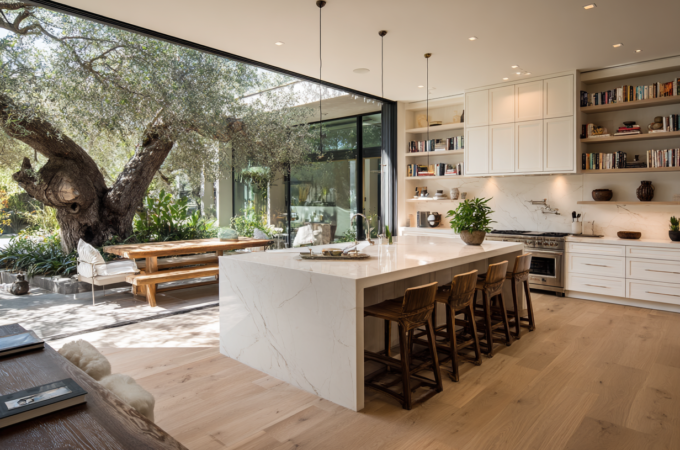
Do It Yourself Kitchen Cabinets How to Fake a Custom Look with Trim
If you’ve ever wanted custom kitchen cabinets but don’t have the budget for a full renovation, you’re not alone. High-end custom cabinets can be costly, but there’s an easy and affordable way to achieve the same luxurious look: trim.
Adding trim to your kitchen cabinets can transform them into something special and give the illusion of custom-built designs—without the hefty price tag. In this detailed guide, we’ll show you how to fake a custom look for your kitchen cabinets using trim.
Whether you’re refreshing old cabinets or just want to make a quick, budget-friendly update, this Do It Yourself Kitchen Cabinets project will give your kitchen a stylish new look.
Why Choose Trim for Your Kitchen Cabinets?
The Benefits of Trim
Trim is often underestimated, but it’s one of the most powerful tools in interior design. When it comes to kitchen cabinets, adding trim can completely change the appearance of the space. By using trim strategically, you can make your cabinets look custom-made, sophisticated, and designer-worthy.
- Affordability: Custom cabinetry comes with a hefty price tag. However, trim is an affordable option that allows you to achieve a similar effect without the financial strain.
- Customization: Trim comes in a variety of styles, so you can choose the one that best matches your kitchen’s theme. Whether you prefer a modern, farmhouse, or traditional look, there’s a trim style that will complement your design vision.
- DIY-Friendly: You don’t need to hire a contractor to get this look. With just a few basic tools, you can do it yourself and save on labor costs.
- Quick Transformation: Unlike full cabinet replacements or major renovations, adding trim is a fast project that you can complete in a weekend.
Types of Trim for Cabinets
When choosing trim, consider the style of your kitchen and the look you’re going for. Some popular types of trim include:
- Crown Molding: This is the trim that sits on top of your cabinets. It’s one of the most popular choices for creating an elegant, custom look.
- Baseboard Trim: Similar to crown molding, baseboard trim runs along the bottom of your cabinets, giving them a finished look.
- Beadboard: Beadboard is a classic, charming trim that adds texture and interest to your cabinets, giving them a more cottage or vintage vibe.
- Shaker-Style Trim: If you want a modern or minimalist look, shaker-style trim provides clean lines and simple design that complements contemporary kitchens.
Tools and Materials You’ll Need
Before starting your project, make sure you have all the necessary tools and materials. While the list isn’t long, each item is essential to completing the job correctly.
Materials:
- Trim Pieces: Select trim that fits the style and aesthetic you want to achieve. You can find it at most home improvement stores in different materials such as wood, MDF, or PVC.
- Wood Filler: This will be used to fill any gaps or nail holes once the trim is installed.
- Paint or Stain: Depending on the finish of your cabinets, choose either paint or stain to match the trim to the existing cabinets.
- Caulk: To fill any gaps between the trim and the cabinets, ensuring a smooth, polished finish.
- Adhesive (Optional): For a no-nail approach, construction adhesive can be used to secure trim to the cabinet surface.
Tools:
- Measuring Tape: You’ll need this to measure the lengths of your trim pieces accurately.
- Miter Saw: This tool allows for precise angled cuts, especially important for corners.
- Nail Gun or Hammer: To attach the trim to the cabinet surface. If you prefer not to use nails, adhesive can be an alternative.
- Level: To ensure your trim is straight and level as you install it.
- Paintbrush or Sprayer: For applying paint or stain evenly across your trim pieces.
- Wood Filler Knife: This will be used to fill nail holes and any seams in the trim.
Step-by-Step Guide to Adding Trim to Your Kitchen Cabinets
Ready to get started? Here’s how to add trim to your kitchen cabinets in a few simple steps.
Step 1: Prep Your Cabinets
The first step in any DIY project is preparation. Clean your cabinets thoroughly before adding any trim. Use a damp cloth to remove any grease, grime, or dust from the surface. If you plan on painting your trim, you may also want to lightly sand the cabinet frames to create a smooth surface for the trim to adhere to.
If your cabinets have old trim or any hardware you plan to replace, remove them first. Use a utility knife or a pry bar to carefully remove the trim. Be gentle so as not to damage the surface underneath.
Step 2: Measure and Cut the Trim
Now that your cabinets are prepped, it’s time to measure and cut the trim. This part of the process requires precision, so take your time and measure carefully. Here’s how to do it:
- Measure the cabinet edges: Using a measuring tape, measure the length and height of the areas where you want to apply trim. For example, if you’re installing crown molding, measure the top edge of each cabinet.
- Cut the trim: Using a miter saw, cut your trim pieces to the appropriate length. If you’re cutting trim for corners, you’ll need to use a 45-degree angle (called a miter cut). This will ensure the pieces meet seamlessly at the corners. Double-check your measurements and cuts before attaching the trim.
- Dry fit the pieces: Before attaching the trim, place it against the cabinet to make sure it fits perfectly. If any adjustments are needed, now is the time to make them.
Step 3: Apply the Trim
Once you’re satisfied with the fit, it’s time to attach the trim. You can use either a nail gun or adhesive, depending on your preference.
Method 1: Nail Gun
If you have a nail gun, this is the fastest and most efficient way to secure the trim. Line up the trim with the cabinet frame, ensuring it’s straight using your level. Then, use your nail gun to secure the trim, placing nails every few inches along the trim. Be careful not to nail too close to the edges to avoid splitting the wood.
Method 2: Adhesive
If you prefer not to use nails, you can use strong construction adhesive to secure the trim. Apply a thin layer of adhesive to the back of the trim and press it into place. Hold the trim for a few seconds to ensure it sticks, and use painter’s tape to hold it in place as the adhesive dries.
Step 4: Fill in the Gaps and Nail Holes
Once the trim is secured, you may notice small gaps, nail holes, or seams between pieces. To create a smooth and flawless finish, fill these spaces with wood filler. Apply the filler with a putty knife, ensuring it is smoothed out to be level with the trim.
Once the wood filler dries, lightly sand the filled areas to make them smooth. Wipe down the trim to remove any dust or debris from sanding.
Step 5: Caulk the Edges
To give your cabinets a polished, professional look, use caulk to seal any gaps between the trim and the cabinet frame. Run a bead of caulk along the edges of the trim and smooth it out with your finger or a caulk-smoothing tool. This will eliminate any visible gaps and ensure a clean finish.
Step 6: Paint or Stain the Trim
Now that everything is in place, it’s time to add color. If your cabinets are already painted, you can paint the trim to match. If you prefer a natural wood look, stain the trim instead. Be sure to use a paint or stain designed for cabinets so that the trim can withstand the wear and tear of the kitchen.
- Painting: Apply at least two coats of paint to your trim, letting each coat dry fully before applying the next. Choose a high-quality, durable cabinet paint for the best results.
- Staining: For a natural wood look, choose a stain that complements the color of your cabinets. Apply the stain with a clean brush or cloth, and allow it to sit for a few minutes before wiping away any excess.
Step 7: Let Everything Dry
After painting or staining, let your trim dry completely before touching or installing any items back in your cabinets. This may take several hours or even overnight, depending on the paint or stain you’re using. Be patient and allow the trim to fully cure.
Adding Extra Details for an Even More Custom Look
If you’re feeling creative and want to add extra flair to your cabinets, consider these additional trim options:
- Baseboard Trim: Install baseboard trim along the bottom of your cabinets to create a traditional, elegant look. It’s especially useful for covering up gaps or imperfections along the floor.
- Crown Molding: Adding crown molding to the top of your cabinets will instantly elevate their appearance. Crown molding is a timeless design feature that makes your cabinets look more expensive.
- Beadboard Panels: For a farmhouse or cottage-style kitchen, add beadboard panels to the sides or backs of your cabinets. It’s an easy way to create texture and interest in the space.
Conclusion: Enjoy Your Custom-Looking Kitchen Cabinets
With a little time and effort, you can transform your kitchen cabinets into something that looks custom-designed—without the custom price tag.
Whether you choose crown molding, baseboard trim, or beadboard, these simple upgrades will make a huge difference in your kitchen’s appearance.
Best of all, this is a DIY Cabinet project that anyone can do with a few basic tools and materials. So go ahead—give your kitchen the custom touch it deserves and enjoy your beautiful, budget-friendly cabinets for years to come!


