The Installation Process of Exterior Siding: A Comprehensive Guide
Siding is a critical component of a building’s exterior, serving both aesthetic and functional purposes. It not only enhances the curb appeal of a structure but also protects it from the elements. Installing siding correctly is essential to ensure its durability and performance. The process involves several key steps, materials, and techniques. Here’s a detailed overview of how siding is typically installed:
1. Preparation:
Before siding installation begins, the existing siding (if any) is removed, and the underlying structure is inspected for any damage or rot.Repairs to the structure are made as needed to provide a solid, level, and smooth surface for the new siding.
2. Material Selection:
There are various siding materials available, including vinyl, wood, fiber cement, metal, and more. The choice of material depends on factors like budget, climate, and aesthetics.The selected siding material is ordered and delivered to the construction site.
3. Weather Barrier Installation:
A weather-resistant barrier, such as house wrap or felt paper, is applied to the sheathing or studs of the exterior walls. This barrier helps prevent water infiltration while allowing for vapor diffusion.Flashing, which is often made of metal, is installed around doors, windows, and other openings to direct water away from vulnerable areas.
4. Siding Layout:
The layout for the siding panels or planks is carefully planned to ensure an even and symmetrical appearance. Starting at a corner, a level reference line is established to guide the installation process.
5. Installation Techniques (Varies by Siding Material):
Vinyl Siding:
Vinyl panels are attached to the exterior walls with nails or screws. They interlock horizontally and are overlapped vertically to create a seamless look.
Wood Siding:
Wood siding may be installed as individual boards or as panels. It can be attached using nails or clips, and proper spacing is maintained to accommodate wood expansion and contraction.

Fiber Cement Siding:
Fiber cement boards are attached to the walls using nails or screws. Specialized tools are often used to cut and shape these boards.
Metal Siding:
Metal siding can be installed as large panels or smaller shingles. Fasteners are used to secure the metal sheets to the wall, and overlapping seams help maintain weather resistance.
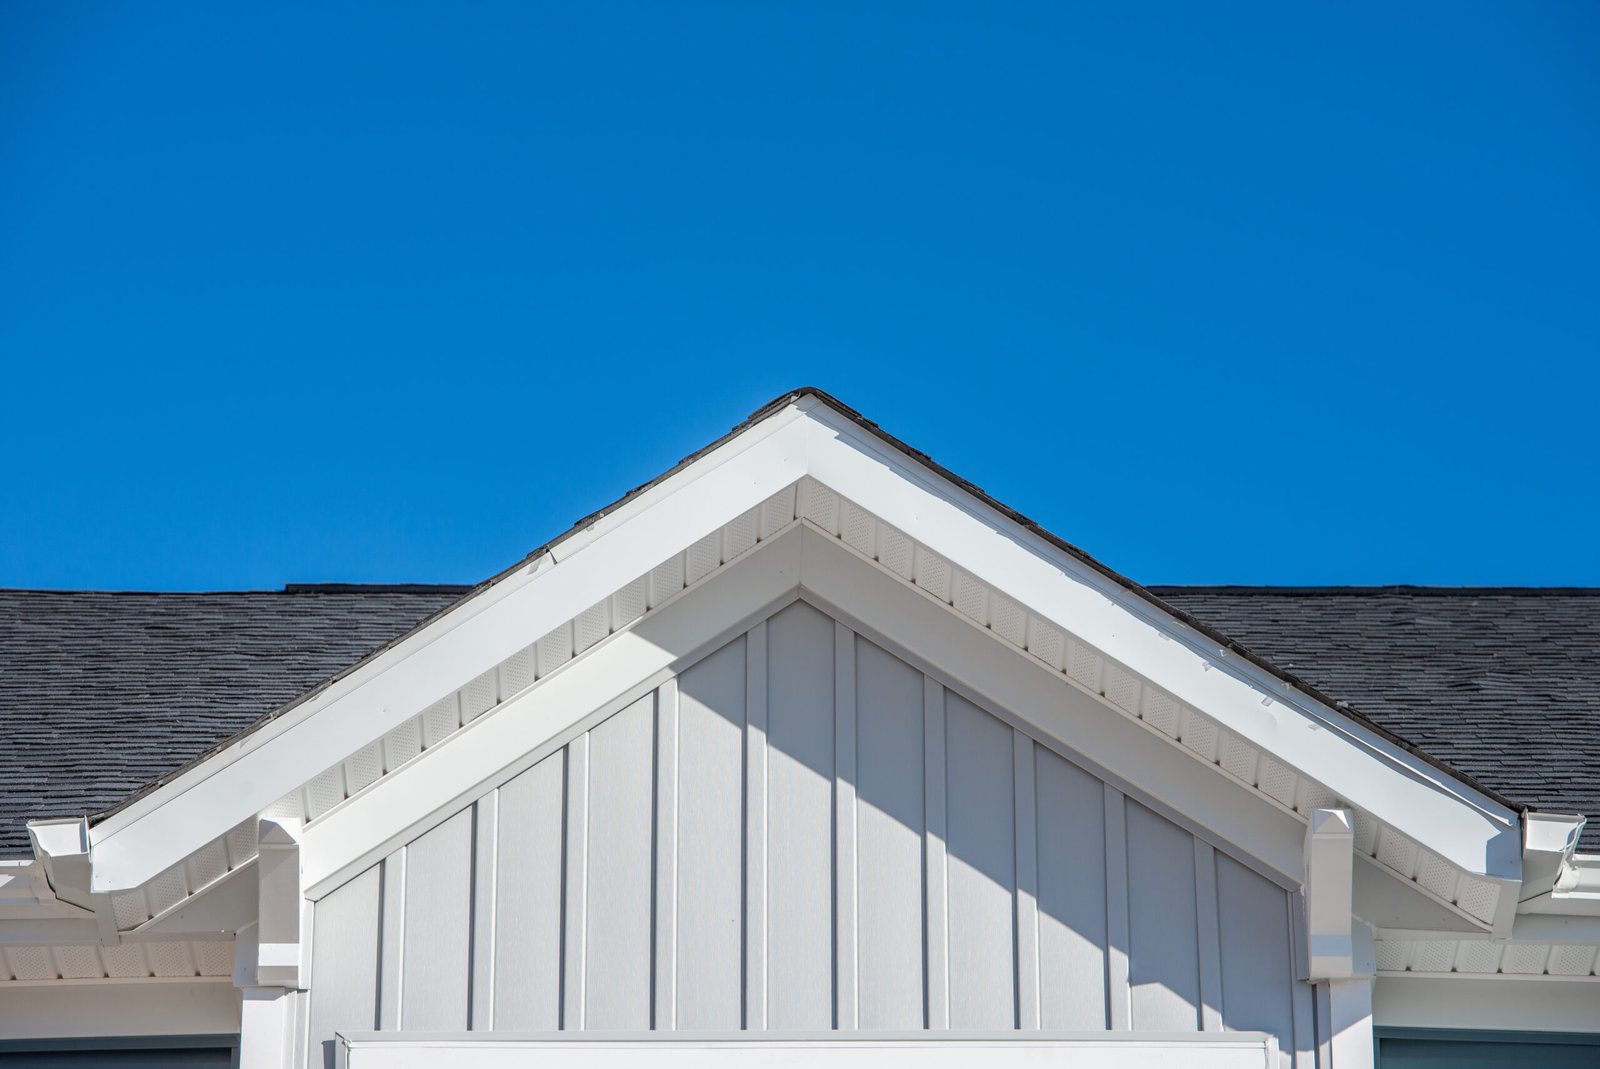
6. Trim Installation:
Trim pieces, such as corner trim, window and door casings, and fascia boards, are installed to provide a finished look and protect vulnerable edges.Trim is typically secured with nails, screws, or adhesives, and it may be painted or stained to match the siding.
7. Caulking and Sealing:
To ensure a watertight seal, all joints, seams, and gaps between siding panels, trim, and other components are caulked or sealed with an appropriate sealant.
8. Painting or Finishing (if applicable):
If the siding material requires painting or staining, this step is completed according to manufacturer specifications.
9. Final Inspection:
Once the siding installation is complete, a thorough inspection is conducted to check for any defects, gaps, or imperfections.
10. Cleanup:
Debris, excess materials, and construction waste are removed from the site, leaving the exterior clean and tidy.
In conclusion, the installation of siding is a meticulous process that involves careful planning, precise measurements, and attention to detail. Each step is crucial in ensuring the longevity, functionality, and aesthetic appeal of the building’s exterior. Properly installed siding not only protects the structure from the elements but also enhances its visual appeal, making it a vital component of any construction or renovation project.