Tungsten Arc Welding 101
Tungsten arc welding – often called Gas Tungsten Arc Welding [GIWT], or TIG welding for short, is just one of several welding methods that are used depending on the type of job in hand. The other most popular is known as MIG, or Metal Inert Gas welding.
To those with little knowledge of welding it may seem like one general skill, but in fact different forms of welding are used according to the materials used, the intricacy of the work being done, and factors like how much power and heat is needed throughout the process.
Choosing the wrong welding style could leave a task unfinished or make it impossible to undertake at all. Professionally trained welders are likely to learn about all aspects of the trade, but hobby welders – of which there are thousands – may only ever need to learn and practice one.
The key points of Tungsten Arc Welding

It’s more precise then MIG welding, but it is also slower.
- TIG welding is good for high-end finishes.
- It takes longer to learn than MIG welding.
- The most popular TIG welds and joints are fillet welds, T-joints, lap joints and butt joints.
- The TIG method is good at dealing with trickier welds, such as those with curves.
Popular shielding gases used in TIG welding
These are largely:
- Helium, used to boost heat, when faster or deeper welding is needed (on titanium and mild steel), and to weld copper and stainless steel materials.
- Argon, usually first choice for welding aluminium, mild steel and titanium.
- Argon/helium mix, popular for automatic welding procedures and welds where a hotter arc is needed, say on aluminium alloys or plain aluminium.
Drawbacks to TIG welding
· It is a more expensive method if thicker sections of metal are welded.
· It requires the person welding to have better dexterity than is needed for other styles such as stick or MIG welding.

A 10 step basic TIG welding tutorial
#1 – Pick the electrode for the job
For example, choose a pure tungsten rod when welding aluminium.
#2 –Now grind the electrode
The point here is to grind the tungsten rod until it has a point.
#3 – Fit the electrode into the holder (if not done)
This should be a straightforward matter of unscrewing the back of the holder, putting the rod in, and fastening it up again, making sure the electrode’s tip is around a quarter inch away from the protective sheath.
#4 – Set up the rig
Choose the AC (aluminium) electricity option, set the penetrating side to 7; if there is an air option set that to 5 seconds, and the max amps to around 250.
#5 – Turn the gas on
The gas you need depends on the material being used.
#6 – Prepare the materials and table
Use a special welding table or a sheet of flat metal.
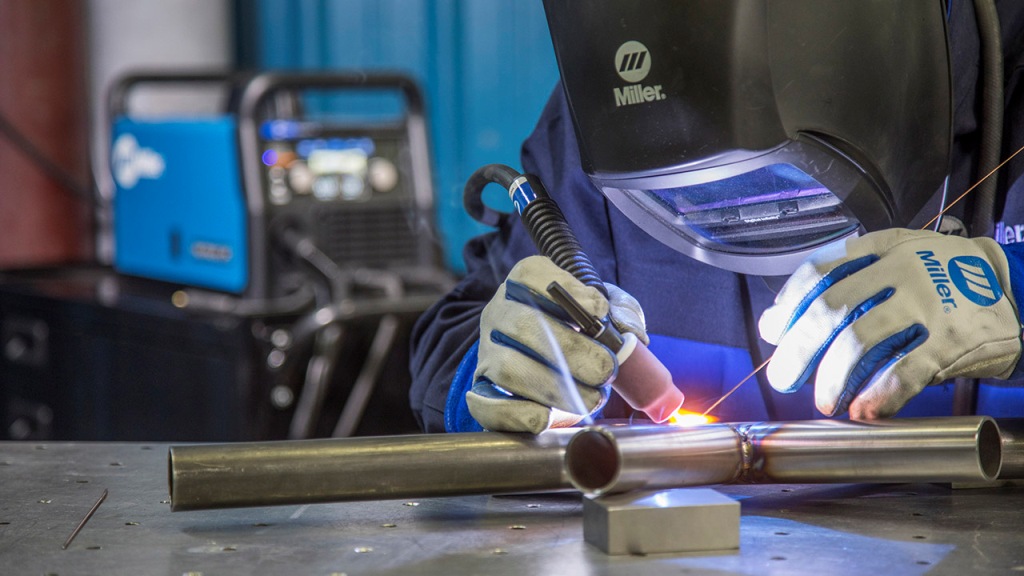
#7 Dress for safety
This means wearing suitable gloves, helmet and shoes.
Weld!